
Language:
Español
More info:
FAQ
Bibliography
Peperina team
Other kayaks
Links
Kayakers
Products
|
It's important to do 'a brief study' of the deck inclinations, and decide the size and position of the hatches. It is easier to do
that on the deck of the actual boat, to avoid already-installed
lines and other desk obstacles. And take into account aesthetic
factors. Also important is leaving about 6 cm on each side to install
the deck-eyes to connect the straps or webbing.
|
|
|
|
|
|
|
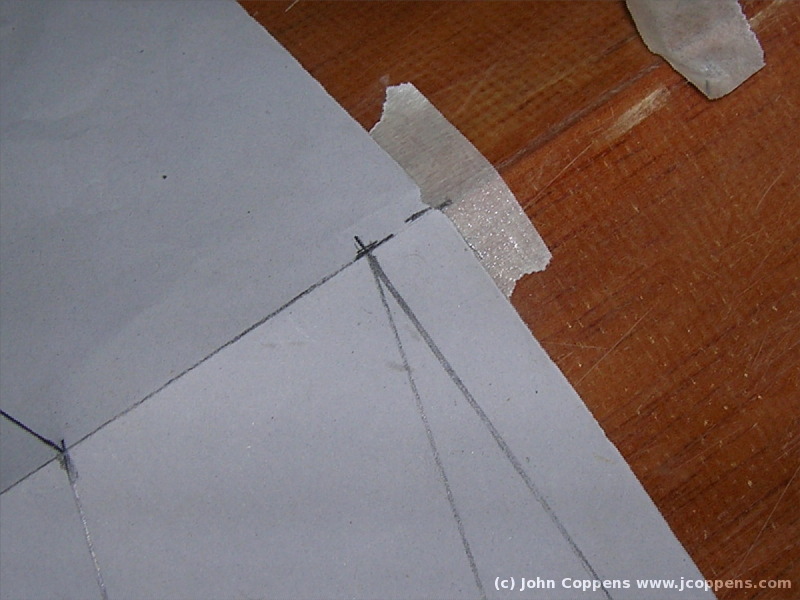
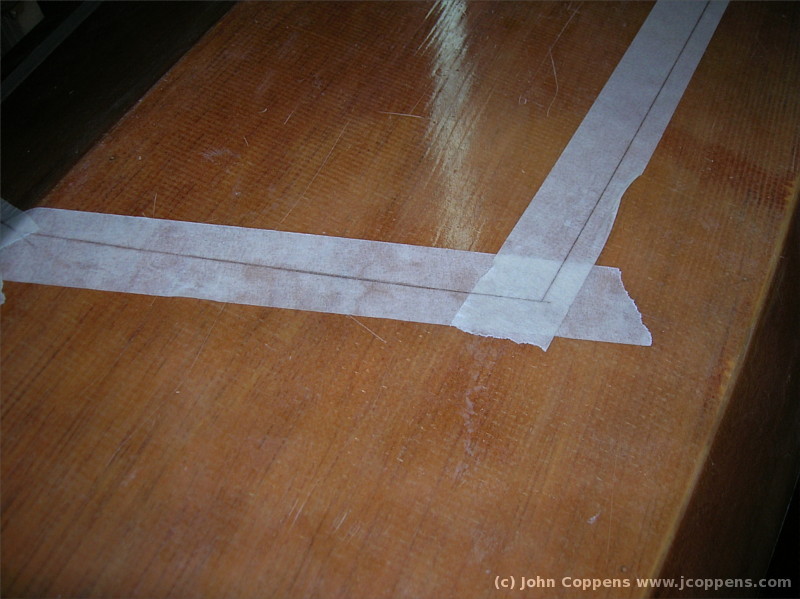
To facilitate alignment, I fixed a couple of pieces of tape on the
deck, marked with the exact center.
|
||
|
|
|
|
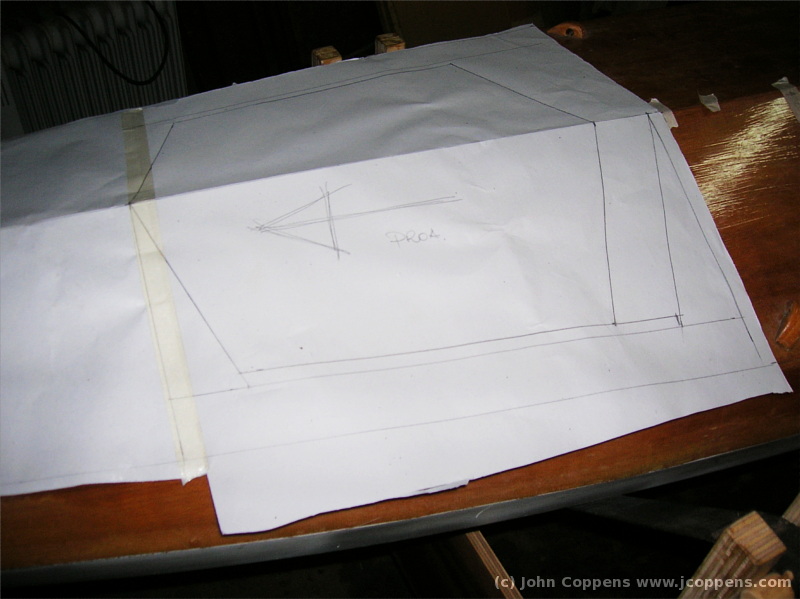
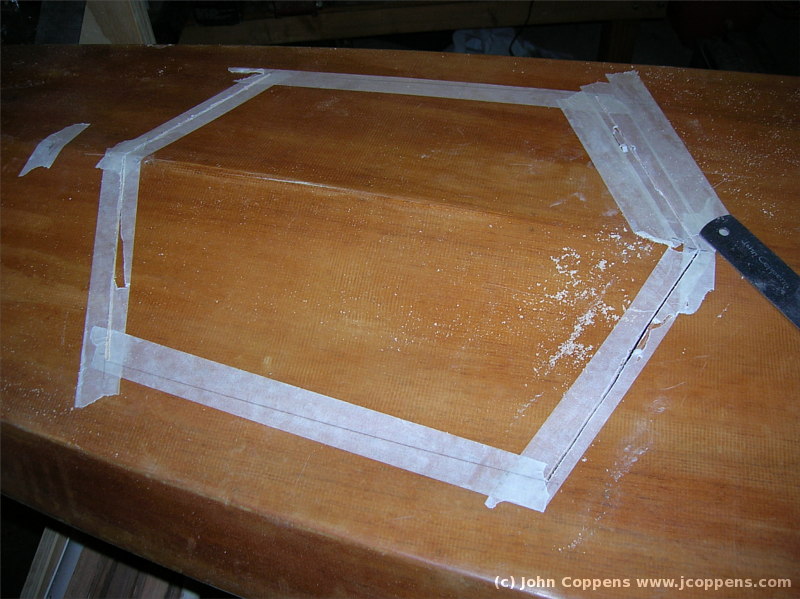
First I drew a hatch 40 cm long, but looking at it, it just seemed too
large, and I reduced it to 35 cm. The width is determined by the necessary
(future) deck-eyes. The hexagonal for is better to break the waves that
come over the deck. Once decided on the final form, I used marking tape
to draw the form on paper...
|
||
|
|
|
|
|
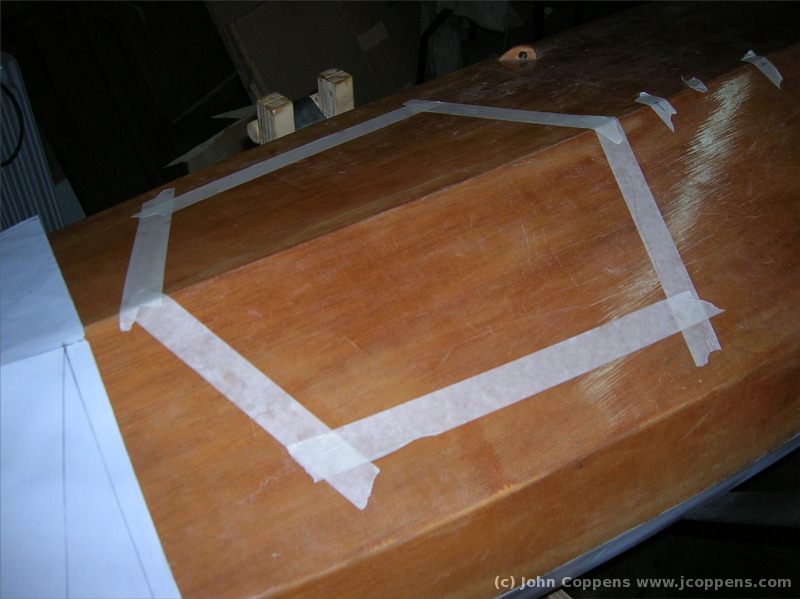
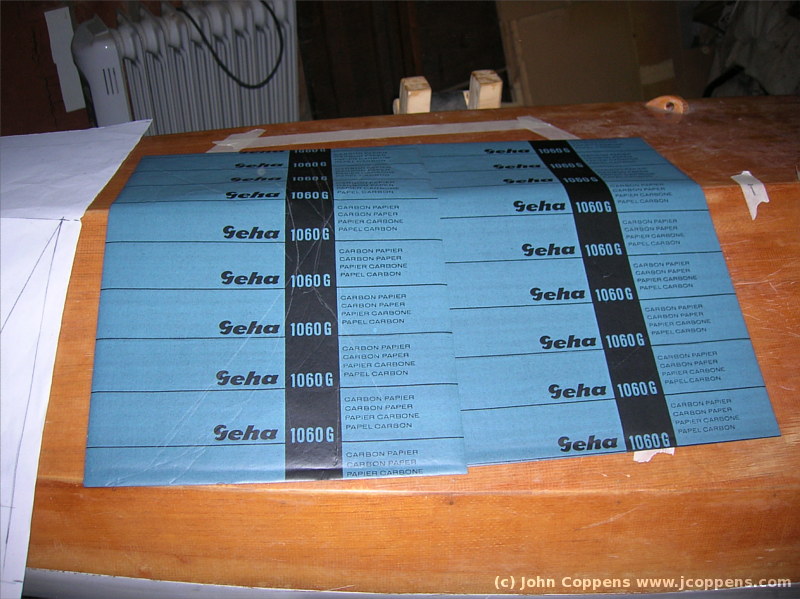
... and then transferred the design to the boat with carbon paper...
|
||
|
|
|
|
... done! Now the most traumatic phase of the operation: cutting the
deck as cleanly as possible!
|
||
|
|
|
|
|
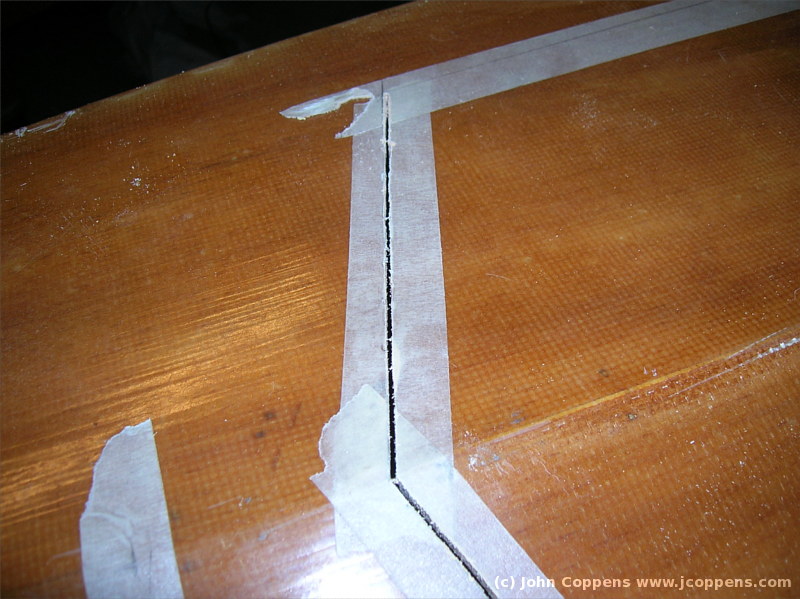
As a first step, using a steel ruler as a guide, I used saw blade
to scratch, with a lot of patience, until the deck was pierced. Then
it's possible to continue with the jigsaw. Note that the usual trick
of drilling a hole doesn't work here, as we need both parts intact!
|
||
|
|
|
|
Again, with patience, the results are very good. The disadvantage of
the hexagonal form, it that the process has to be repeated 6 times.
|
||
|
|
|
|
|
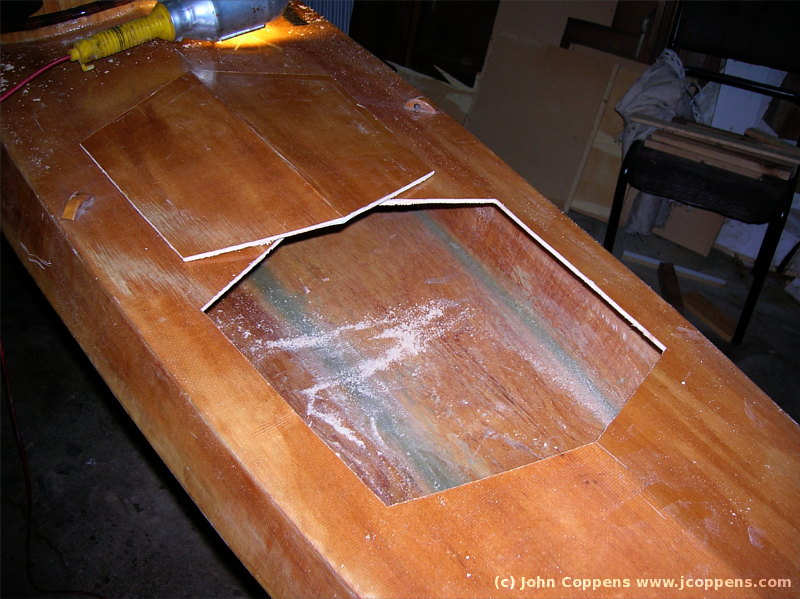
This was how the resulting opening looked like (aft hatch).
|
||
|
|
|
|
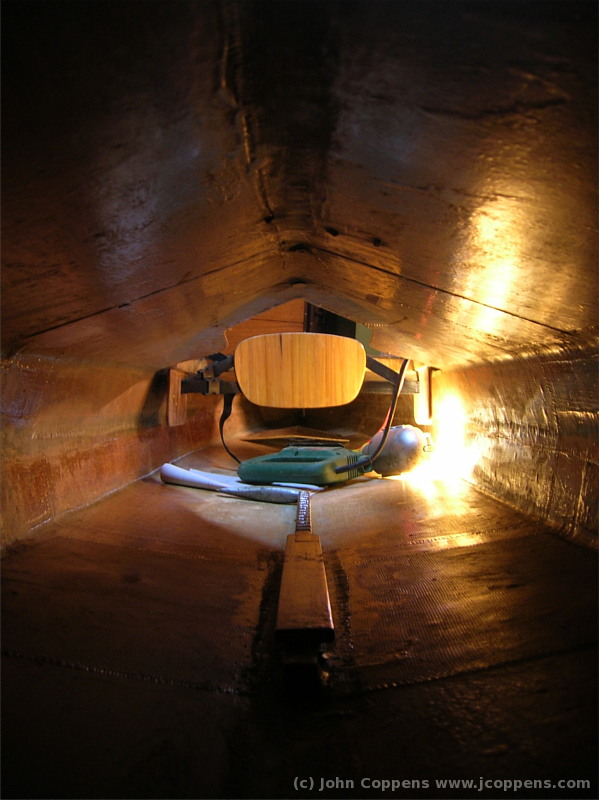
Vew from the forward hatch towards the cockpit. At the bottom,
the fixed part of the footrest slider is visible.
|
||
| (c) John Coppens ON6JC/LW3HAZ |