

Language:
Español
More info:
FAQ
Bibliography
Peperina team
Other kayaks
Links
Kayakers
Products
On this page:
Intru
Eyes
Glueing
Result
I had never tried to glue on top of already-set epoxy, and I wanted to a few extras inside the kayak, so I thought I'd try a few not-so-critical items on an easily accessible spot. I definitely didn't want to drill through the hull, and I wanted to remain true to the wood exterior, so I decided to make my own 'pad eyes'.
Don't be too impressed with my woodwork. Even with pausing for taking pictures, it only took a couple of hours, and it's a lot easier than it looks.
 In the junk box, I found a few pieces of hardwood, so I drew up an
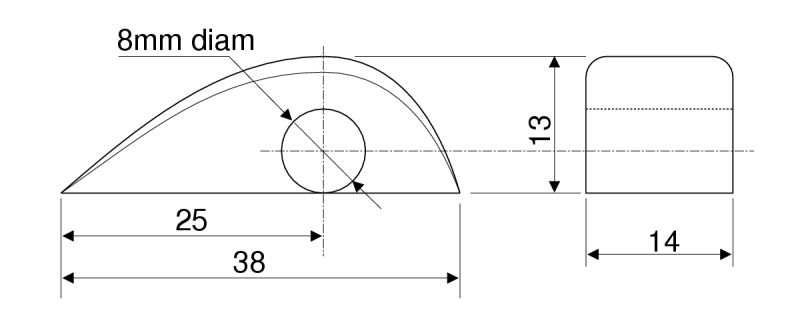
action plan. I based the design of the eye on Nick Schade's book and started.
In the junk box, I found a few pieces of hardwood, so I drew up an
action plan. I based the design of the eye on Nick Schade's book and started.
 The somewhat unusual location of the front eyes was based on two
motivitations:
The somewhat unusual location of the front eyes was based on two
motivitations:
1) I wanted the pad eyes in locations that didn't interfere with the
car supports.
2) I liked the idea to have some of the bands near me for easy access.
Of course, there is quite a bit of latitude for taste and ingenuity here!
|
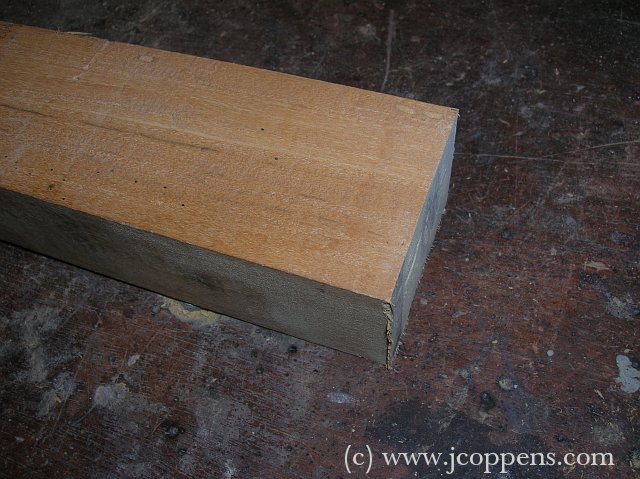
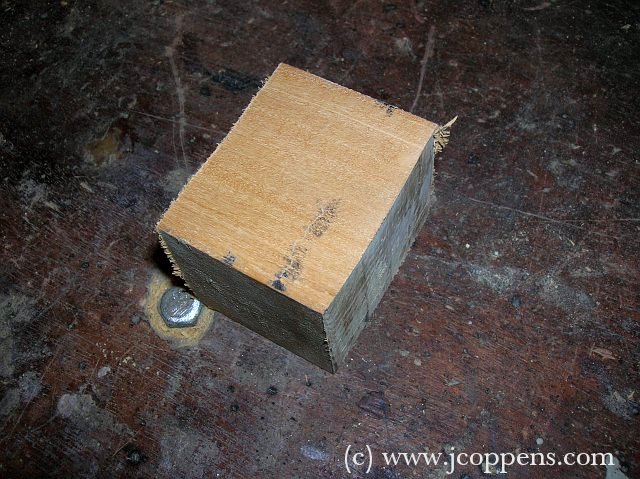
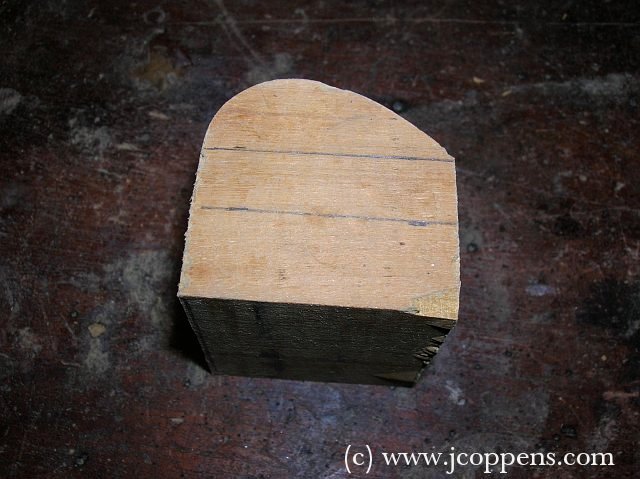
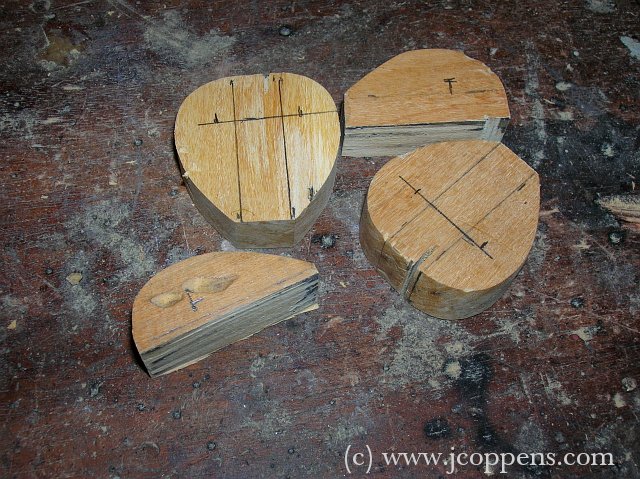
The original hardwood block. It measured about 50mm wide, by 33mm thick,
so I figured I could fit 3 eyes side-by-side and two layers of them,
while following the grain of the wood.
|
|
|
|
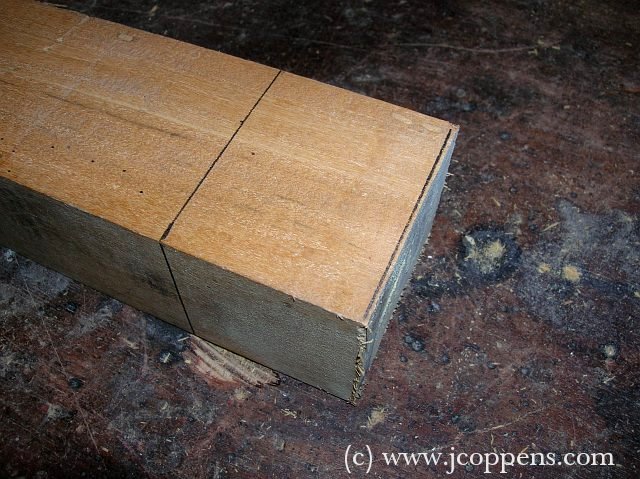
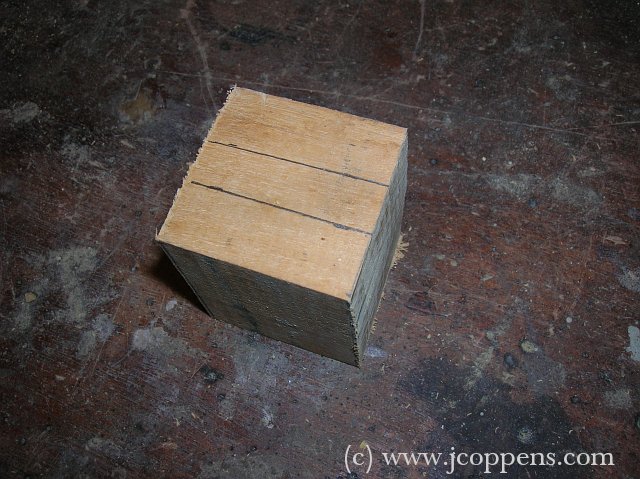
I marked two parallel lines 38mm apart (the length of the eyes). |
|||
|
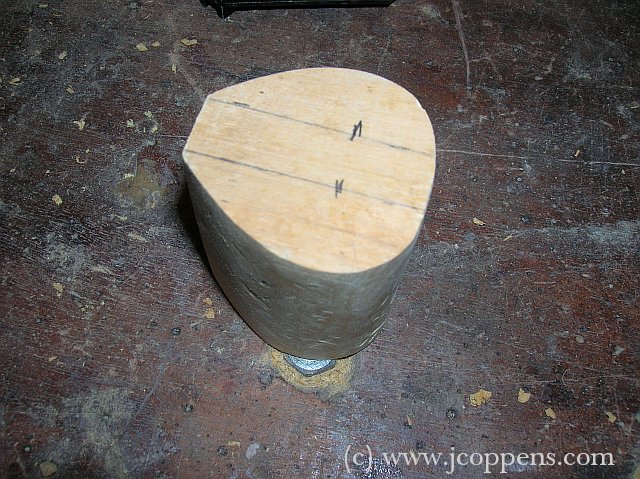
Then cut off the piece. This was hard hardwood, ;-)
|
|
|
|
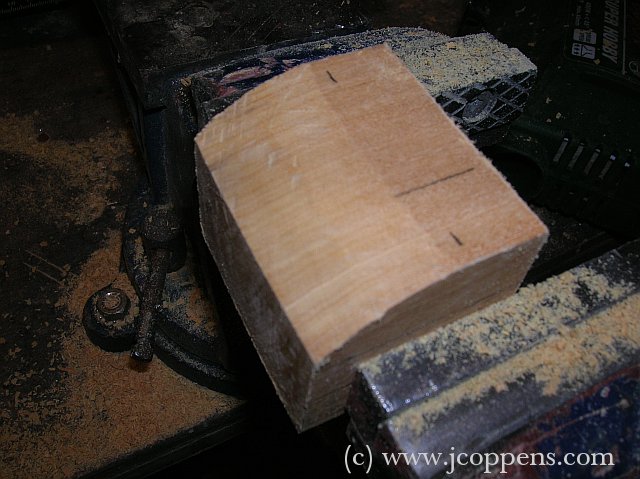
In the height, I marked two lines at 13mm of each surface. That way I could leave everything together while working on the form. |
|||

|
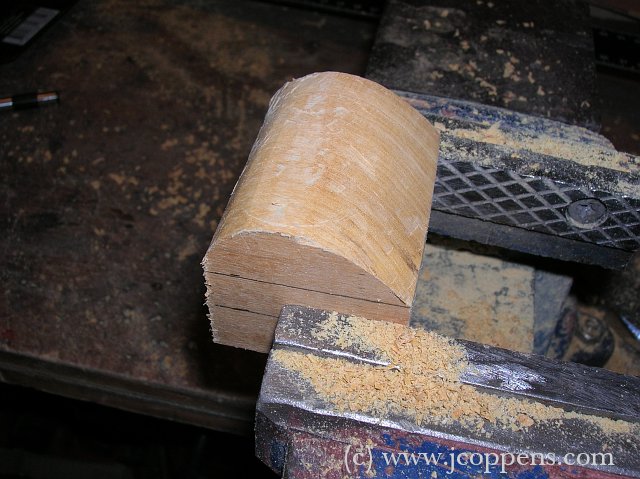
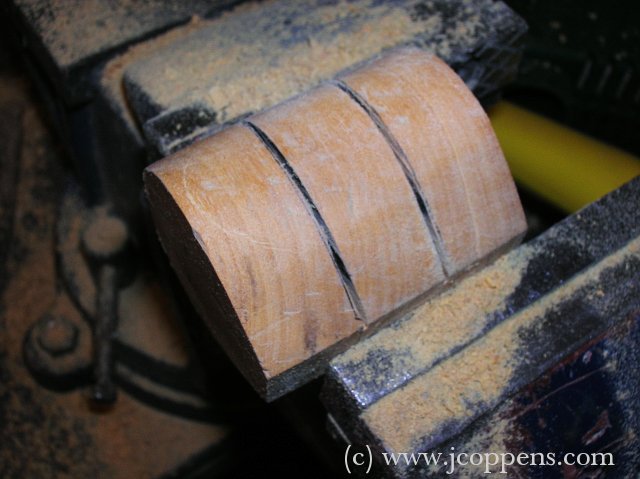
Tool of the trade - a Stanley Surform flat file does wonders here.
in few seconds I had the rear side of the eye formed
|
|
|
|
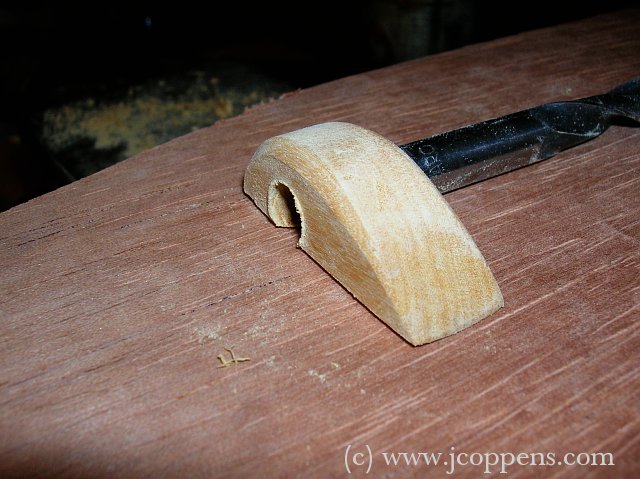
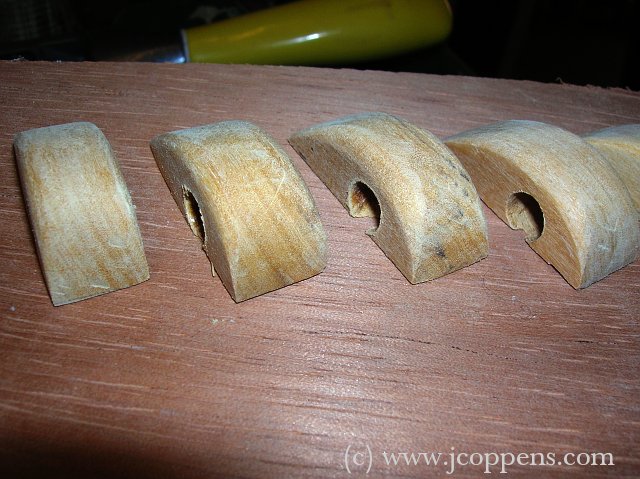
The rear side of the pad eye. It's really much easier to do than it seems. Just try to be flat at the 25mm point from the rear, and leave maybe just a mm or so at the rear itself. |
|||
|
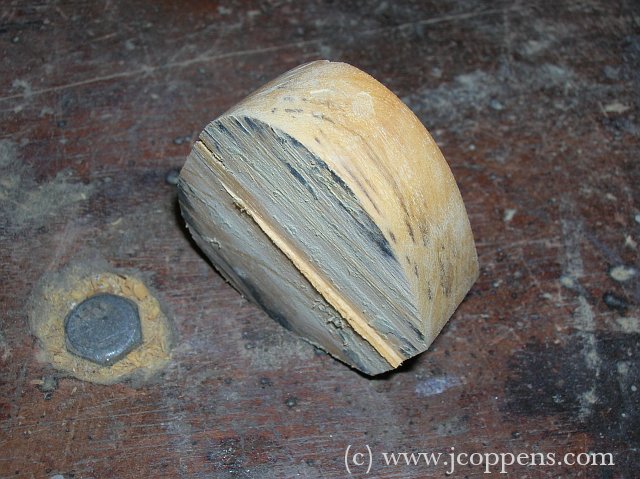
The front is just a little more involved, because of its tighter
curve.
|
|
|
|
Here's the result with both front and rear curves finished on one side... |
|||
|
... and with both sides finished.
|
|
|
|
Using a handsaw, I cut the three pieces, just till the 13mm height of the eyes, starting at one side. |
|||
|
Then, from the other side, saw through till the 'slices' fall off.
|
|
|
|
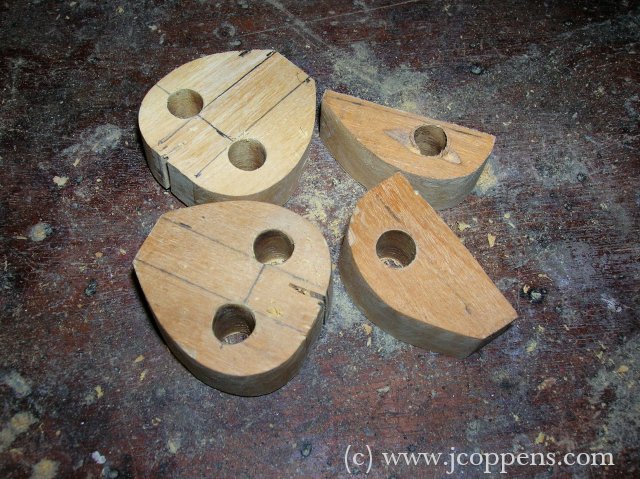
I started cutting one of the eyes off, but then decided it was probably easier to drill the holes first. |
|||

|
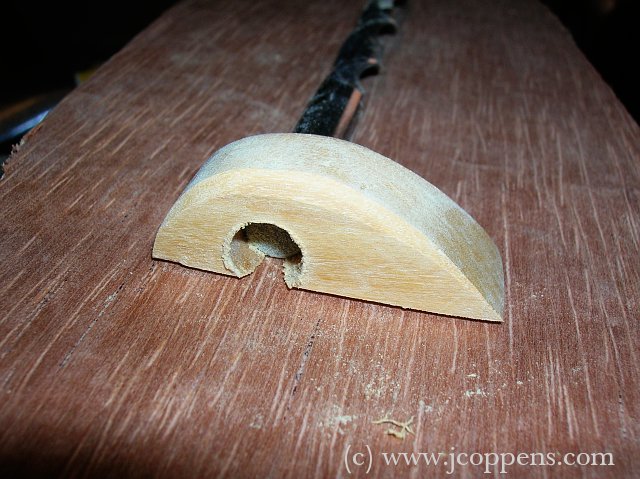
First, pre-drill at a smaller diameter - I used 5mm. The smaller
hole serves as a guide for more precise drilling.
|
|
|
|
Then drill with the final drill. I used 8mm, maybe 9mm would have been easier, to pass the rubber bands later. |
|||
|
Cut off the eyes at 13mm from the top. Don't worry about cutting into
the holes. If the holes are slight low, they'll press the rubber
bands to the deck.
|
|
|
|
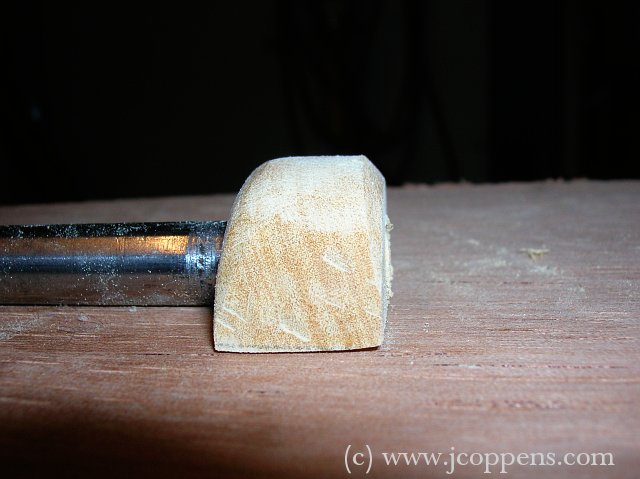
Sandpaper the top borders of the eyes. You can either bevel them at 45 degrees, or round them (preferable). |
|||
|
While sanding them down, use the back side of the drill, inserted into
the hole, as a handle.
|
|
|
|
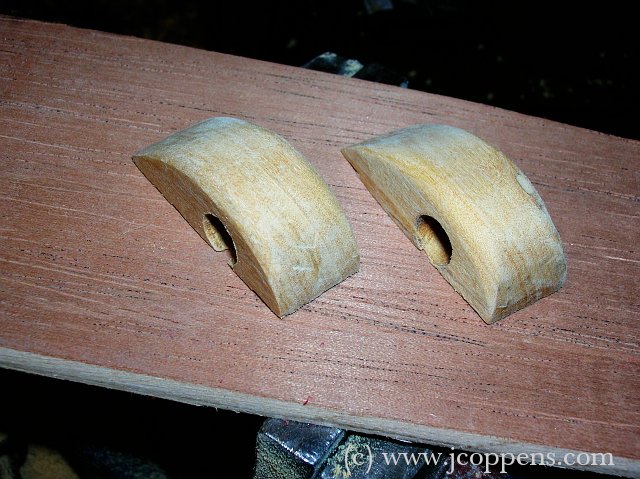
Here one of the sides bevelled at 45 degrees, the other one rounded. |
|||
|
Another view of same
|
|
|
|
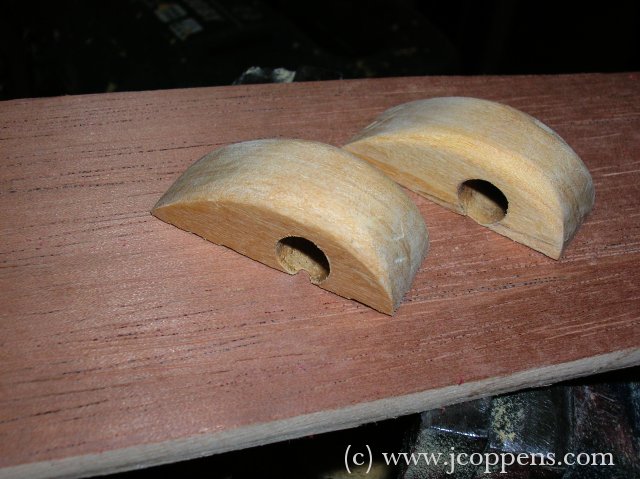
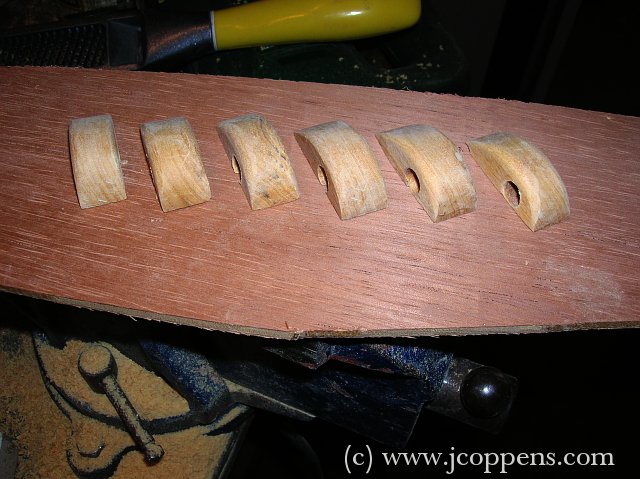
End of the woodwork... 6 eyes ready to be painted. |
|||
|
A closer view of a few of them.
|
|
|
|
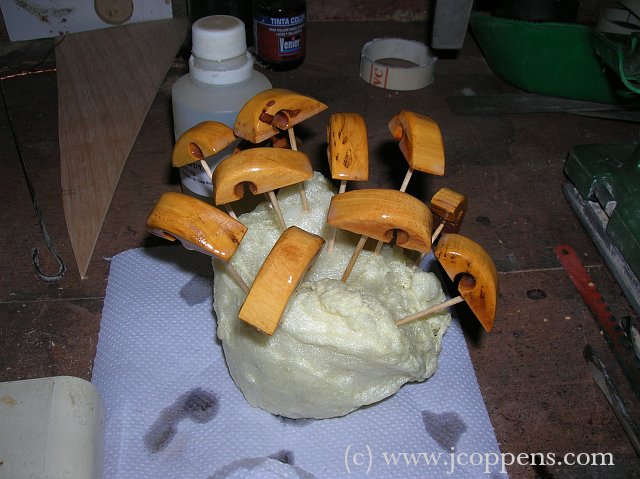
I dipped them into epoxy to get them water-resistant. To support them while setting, I had drilled small (1.2mm) holes in the bottom, and used toothpicks. These can later be broken off and sanded. A paper towel catches drops of epoxy. |
|||
|
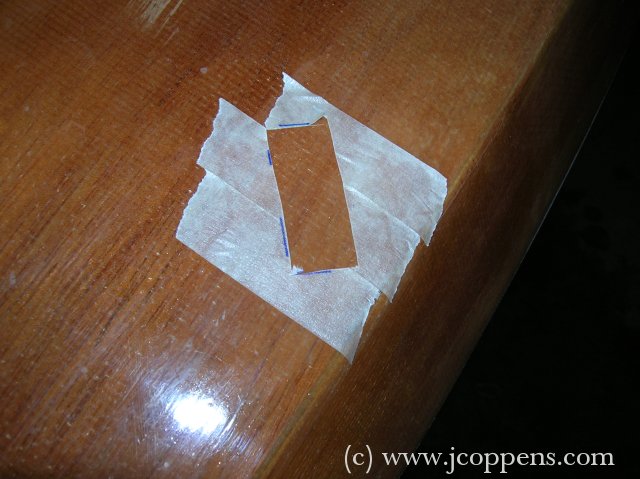
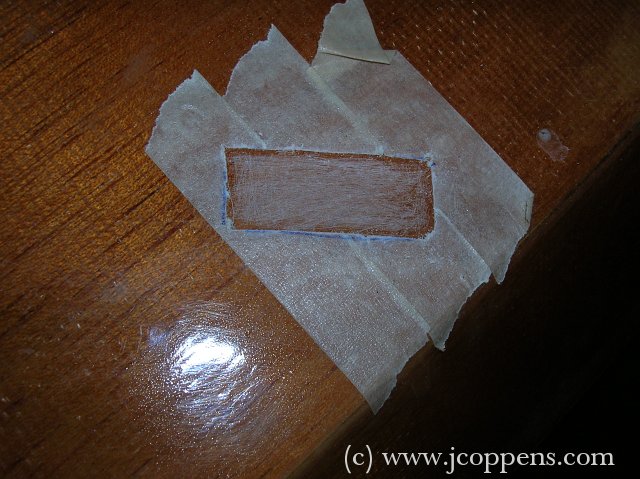
After careful consideration, I decided on the position of the eyes,
used masking tape to draw the location, then cut out the footprint.
|
|
|
|
This eases somewhat the sanding of the surface to improve adherence. |
|||
|
Six positions at the front... I had already finished the rear.
|
|
|
|
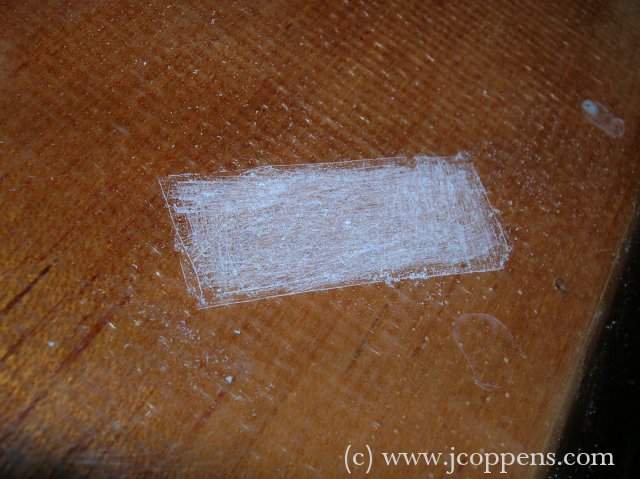
After sanding |
|||
|
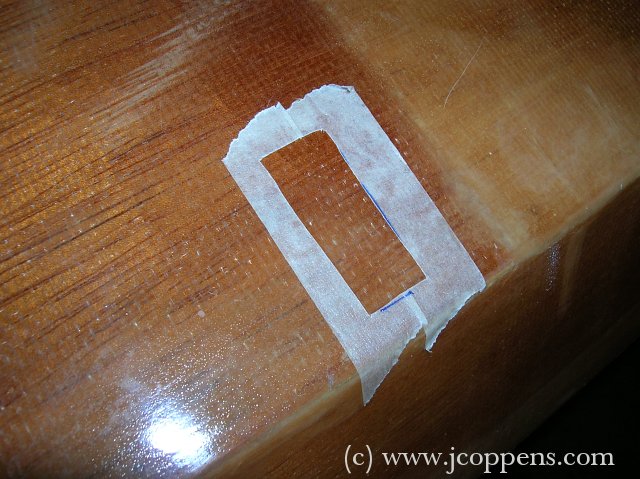
Take off the masking tape. The cut marks and the saning is indication
enough to locate the eyes, and you'll avoid fixing the masking tape
with the epoxy.
|
|
|
|
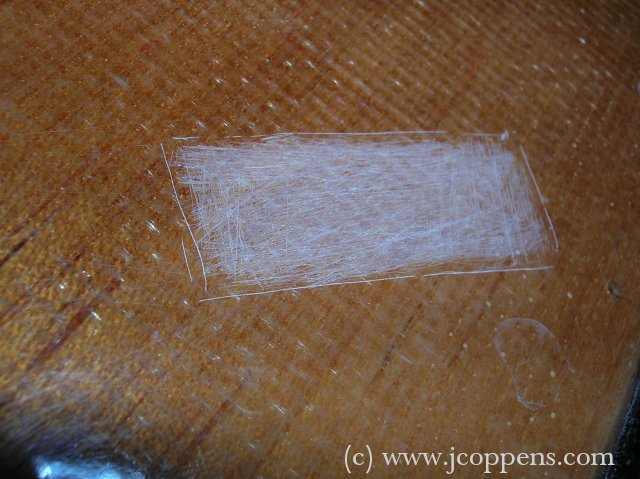
Do clean up the sanding dust with a dry paper towel. |
|||
|
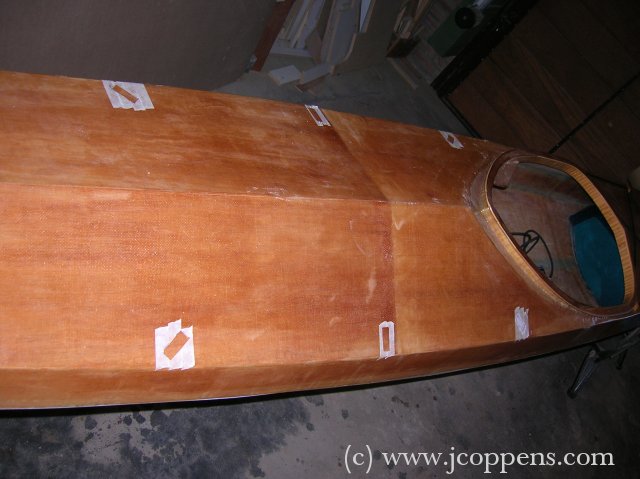
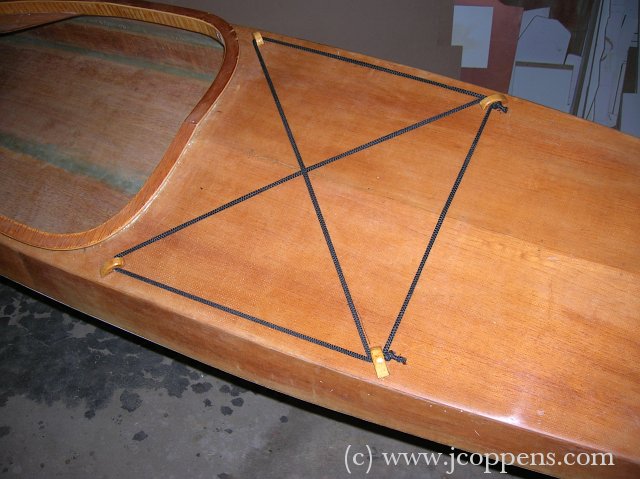
The aft deck. The glueing was done with epoxy mixed with some milled
glassfiber (following Nick's advice - again). If the inclination of
the deck is too much, apply some masking tape to keep the eyes from
moving.
|
|
|
|
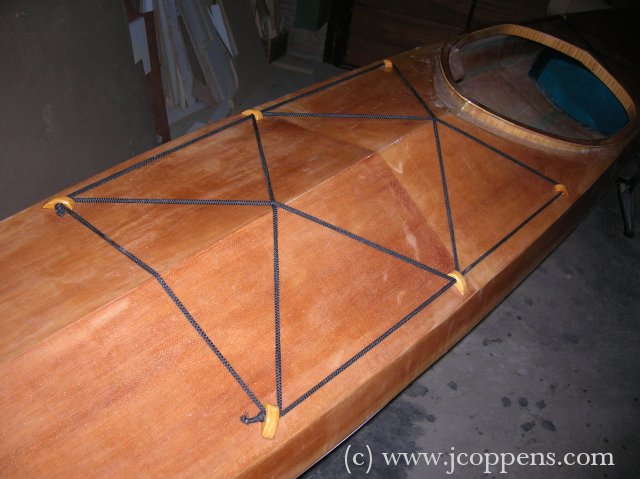
And the front deck, in perspective... |
|||
|
|
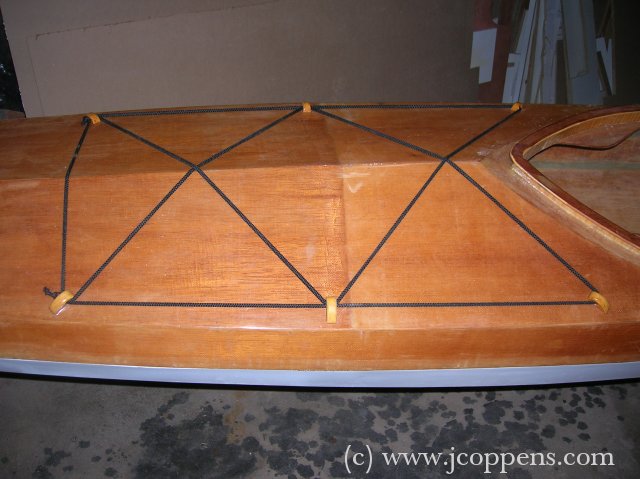
... and a side view to better see the positioning of the eyes. Before
threading the bands, draw a sketch on the path you want to follow!
Apply enough tension, so that smaller objects are held securely too.
|
|
|
|
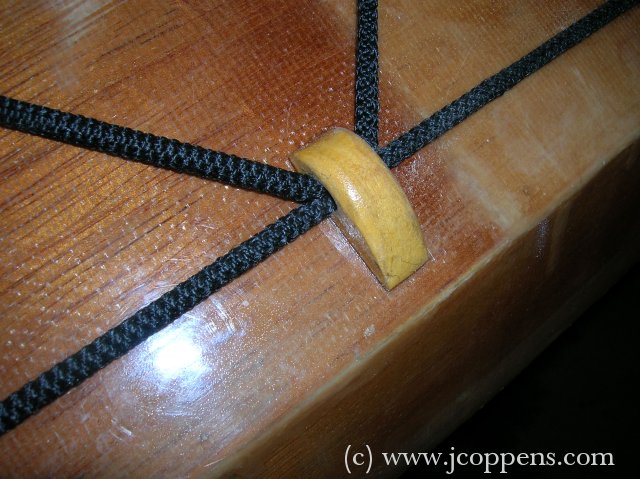
Here's a detail of one of the eyes, and the rubber bands passing through. A final coat of marine varnish protects the epoxy from UV. |
|||
| (c) John Coppens ON6JC/LW3HAZ |