
Language:
Español
Index
Forms
Strongback
Stripping
Epoxy
Coaming
Hatches
Closing
Related info
Questions
Bibliography
Peperina team
Other kayakers
Link page
|
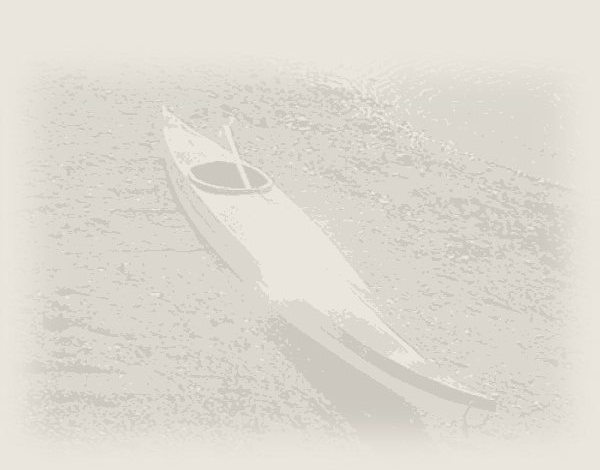
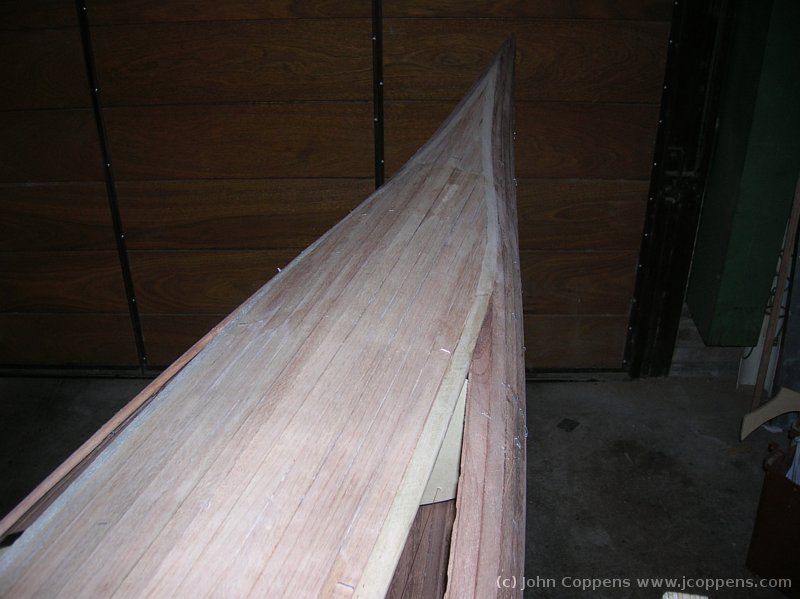
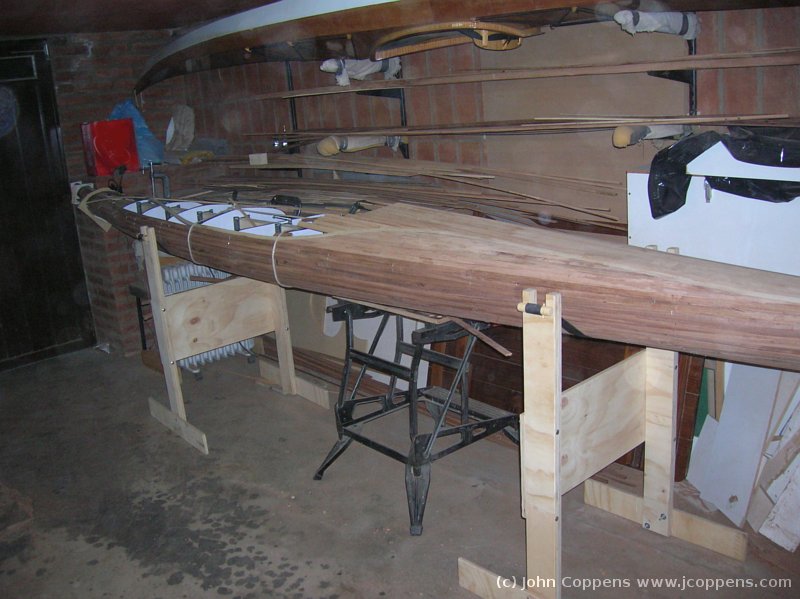
The kayak 'right side up'. It's actually looking quite good, isn't
it? Above is the actual strip&glue model looking down.
|
|
|
|
|
|
|
A look into the hull, before starting with the planning and
construction of the deck.
|
||
|
|
|
|
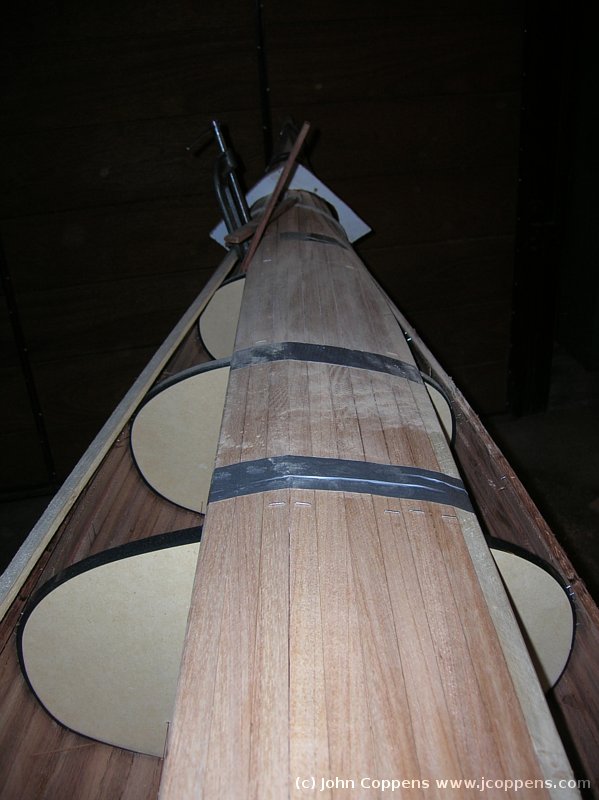
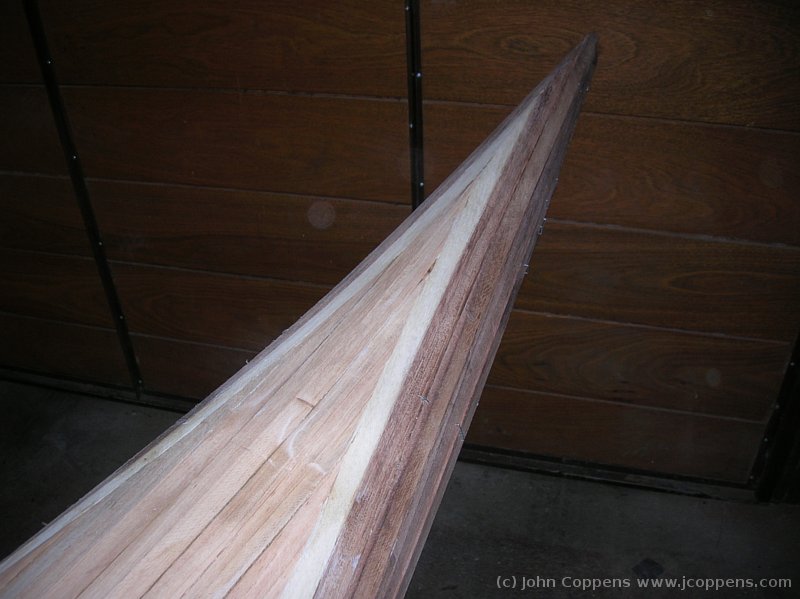
The bow is shaping up - a special feeling, when the strips start
'closing up' the kayak!
|
||
|
|

|
|
|
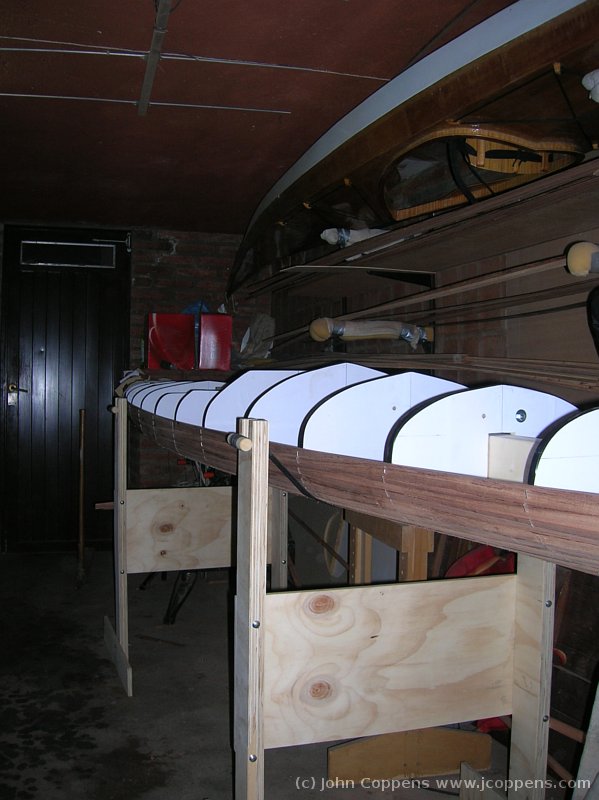
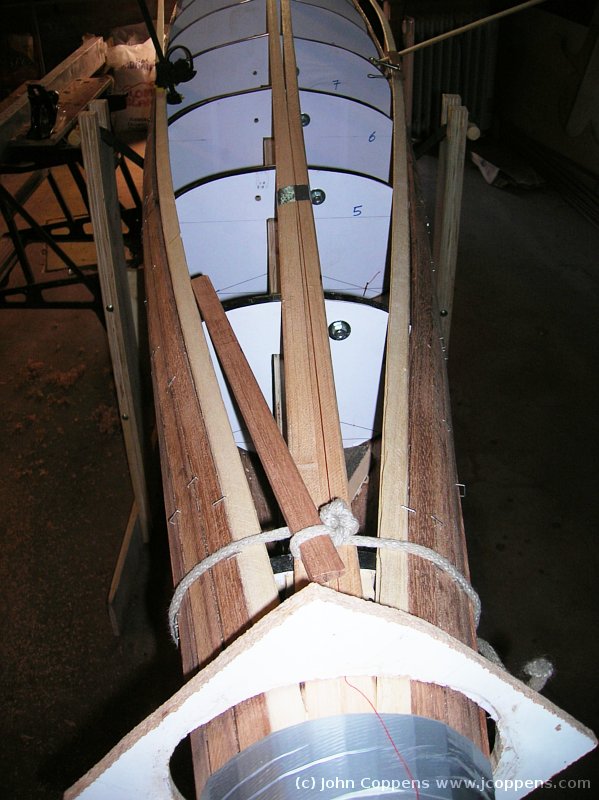
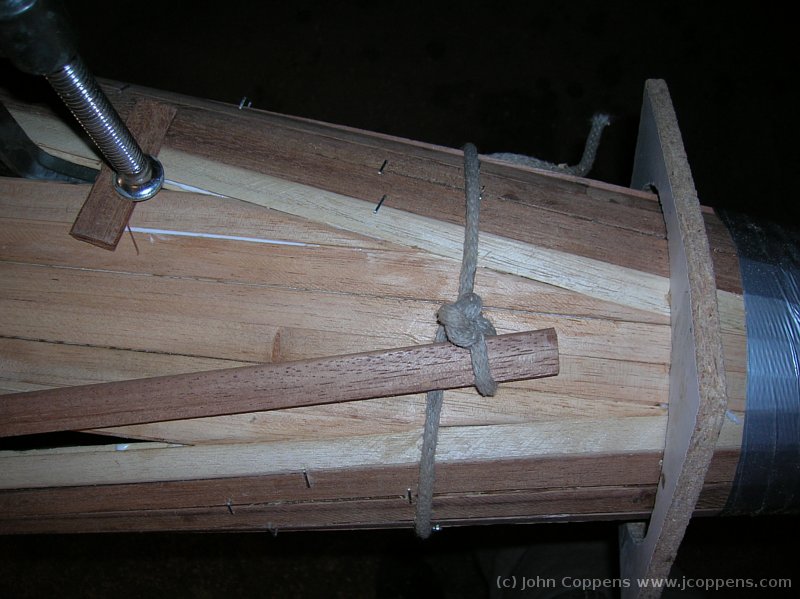
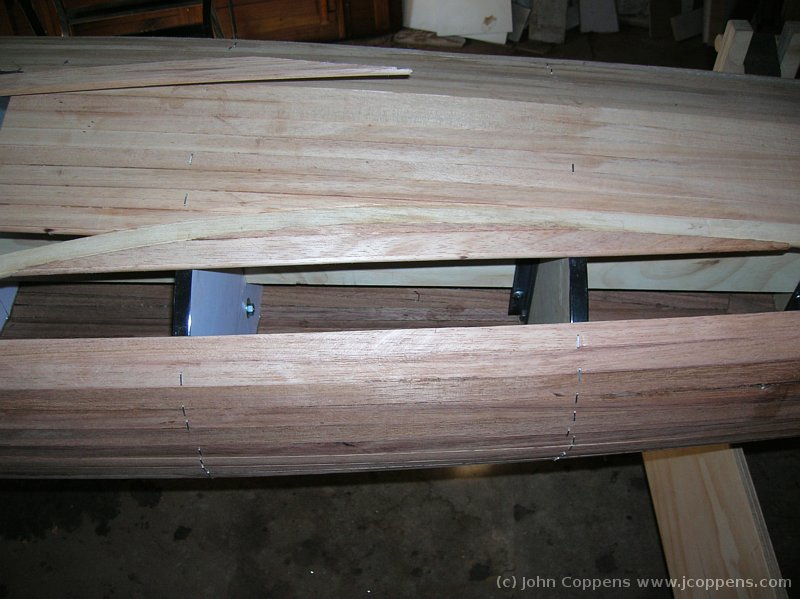
Only 2 strips more till the deck is interrupted for the cockpit.
Note the two rope tourniquettes to force the shape!
|
||
|
|
|
|
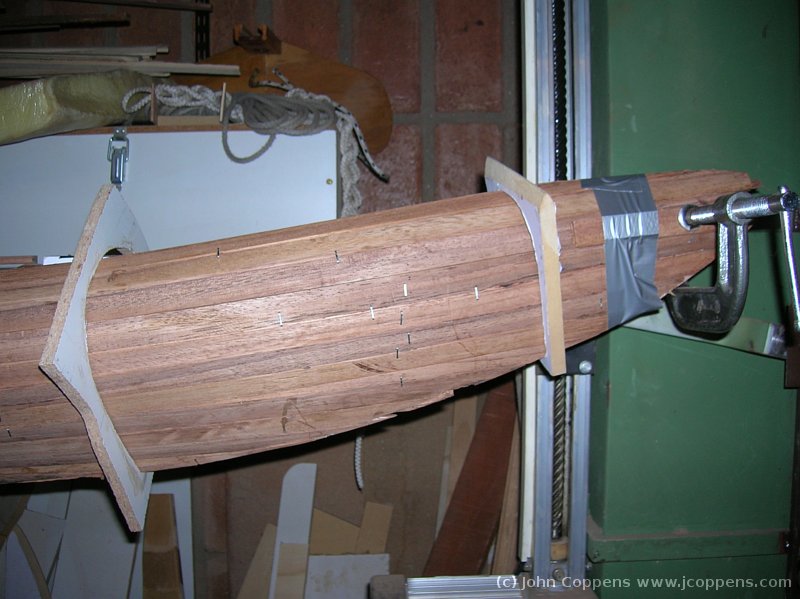
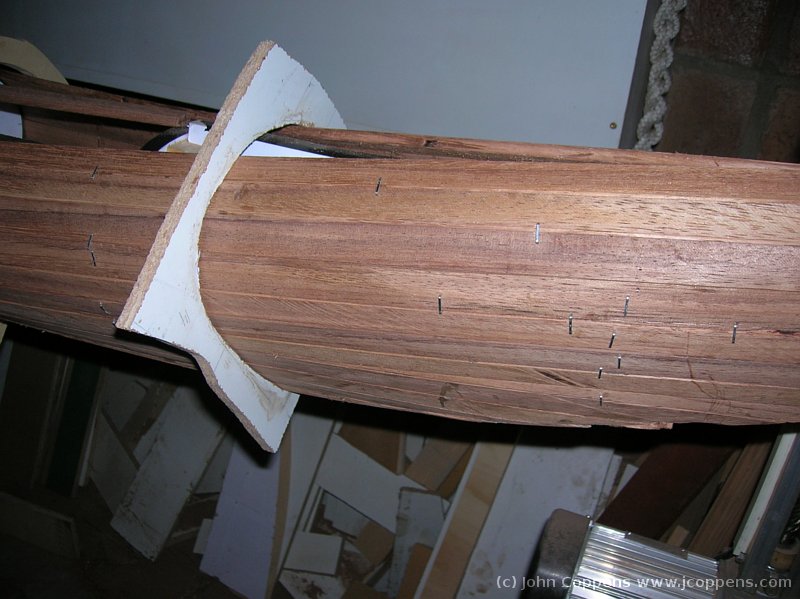
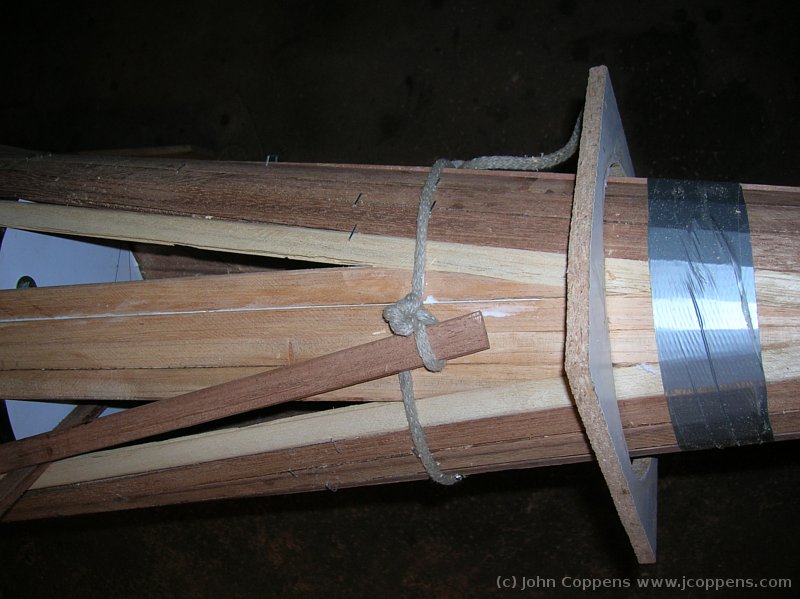
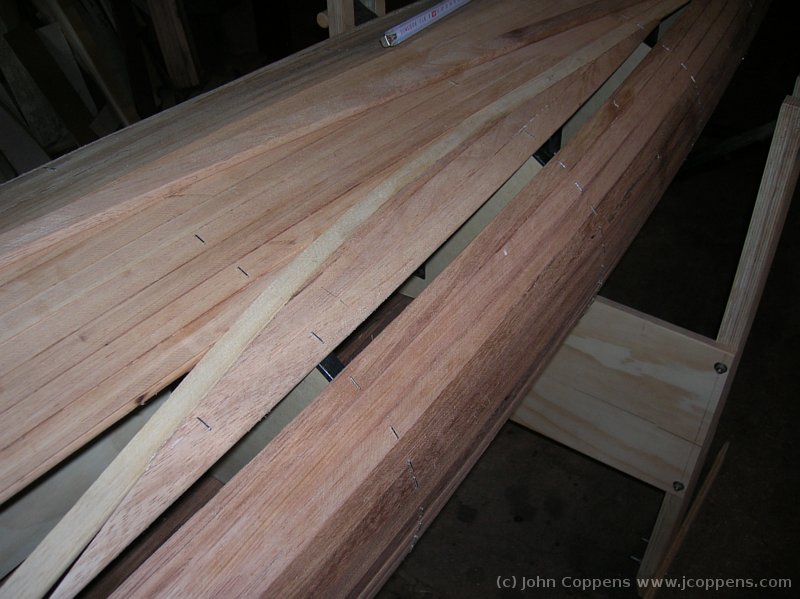
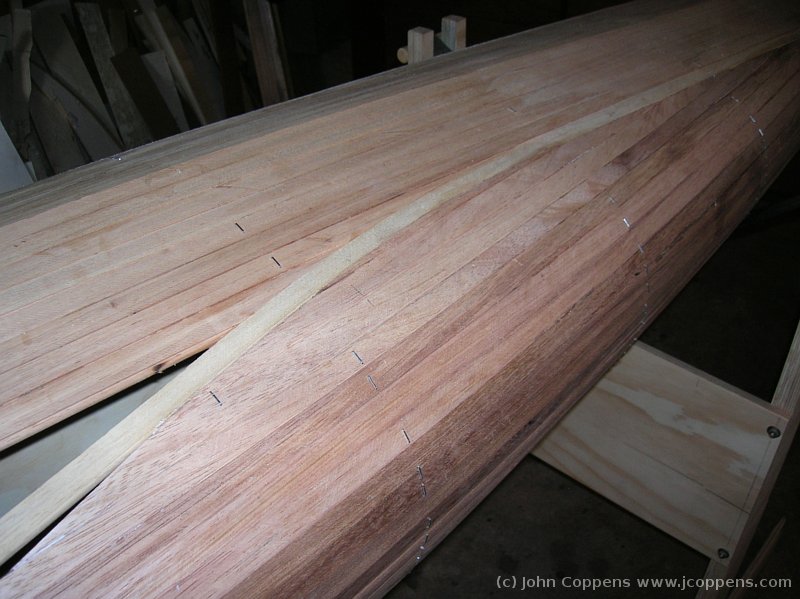
The amount of staples (plus the external forms, not present here) are
a clear indication of the measures necessary to get the strips to
conform to the complicated bow shape!
|
||
|
|
|
|
|
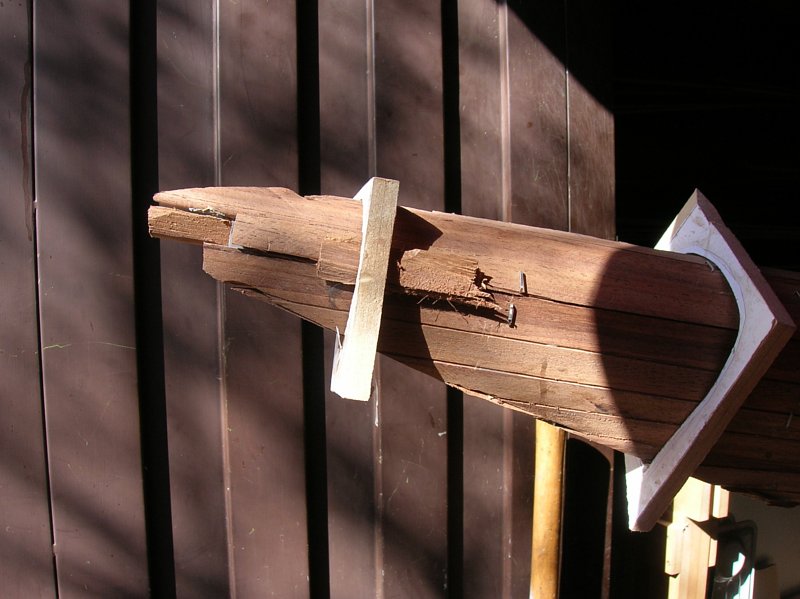
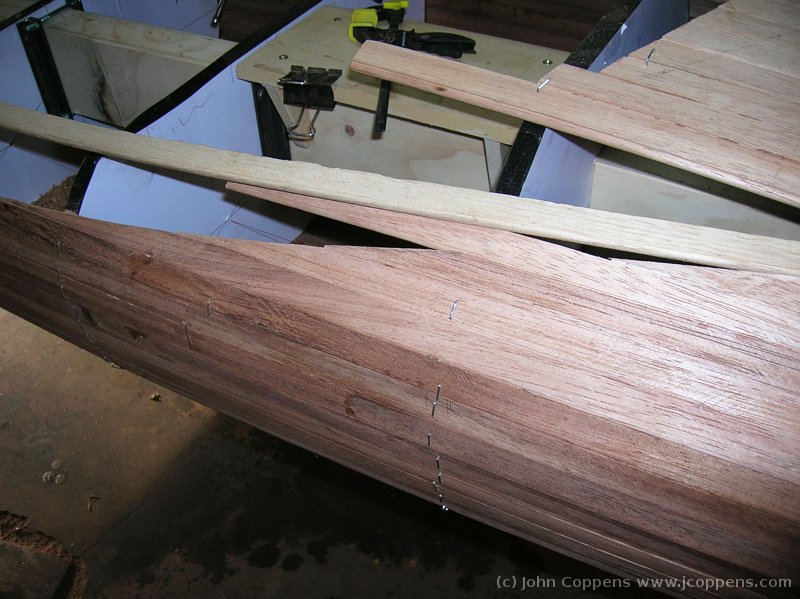
The force excerted by a strip, only 19 by 6.5mm is much more than one
imagines! But thanks to the experience from the previous kayak, I
learned to have a lot of respect for wood.
|
||
|
|
|
|
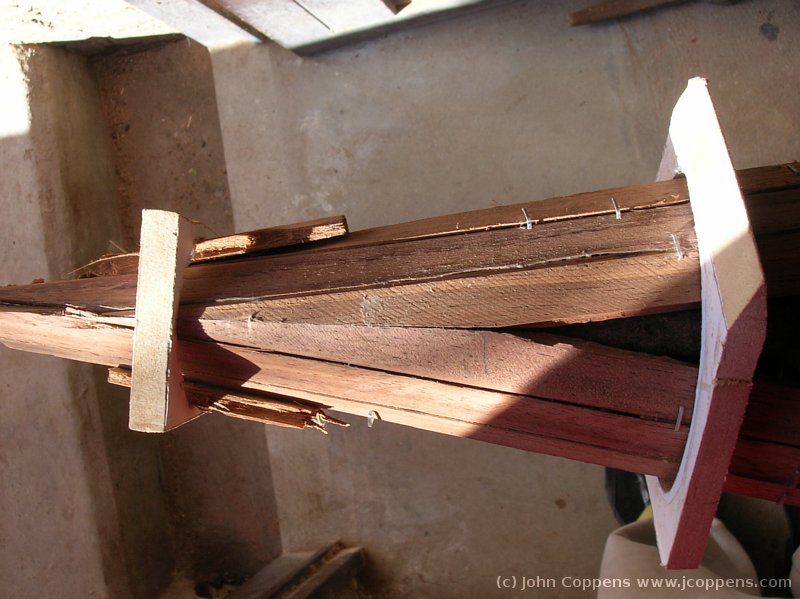
Same view, but of the stern. In the external form, the extra strips
increase the pressure on the sheer strips.
|
||
|
|
|
|
|
A view from above: we're actually closing the deck!
|
||
|
|
|
|
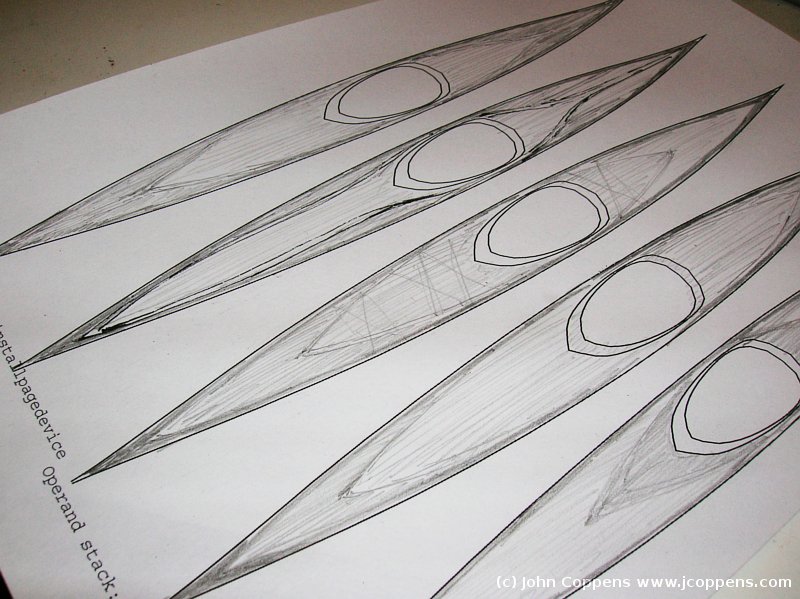
Several sketches to try to make the selection easier. I tried to size
the areas according to the quantity of strips remaining.
|
||
|
|
|
|
|
All the time, I had been thinking on how to finish the esthetic aspect
of the deck. Also, but by necessity, I had to ration the dark wood.
|
||
|
|
|
|
Finally I decided to use a strip of almost white kiri wood, of which
I had precious few, as a separation between the two different colored
timbó batches.
|
||
|
|
|
|
|
Two more strips. These strips are parallel to the center of the kayak,
as an added contrast to the other, curved, lines.
|
||
|
|
|
|
And two more strips. As these strips are very visible, I tried to
limit the use of staples to a minimum, using duct tape to press the
strips together.
|
||
|
|
|
|
|
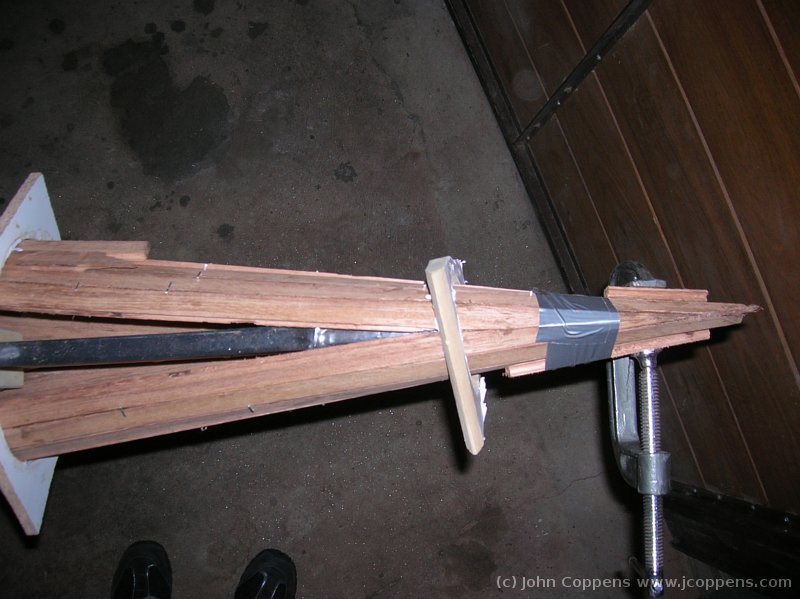
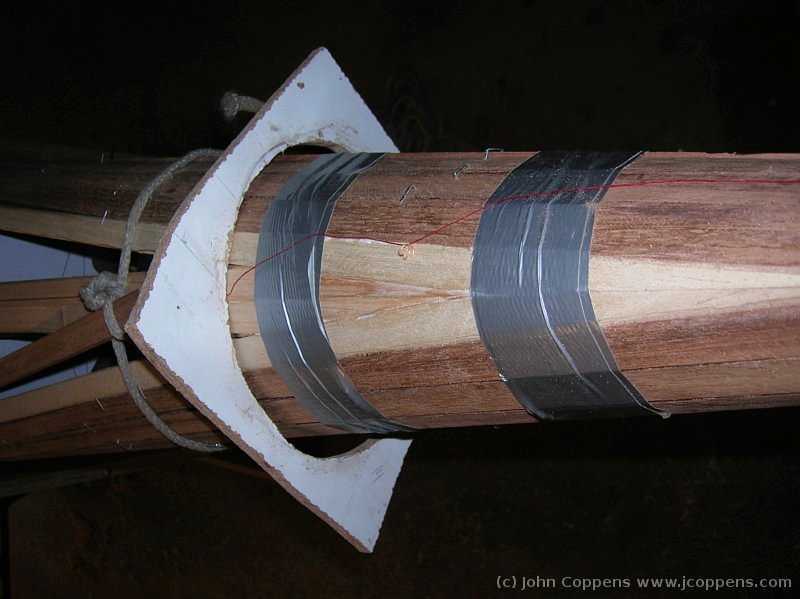
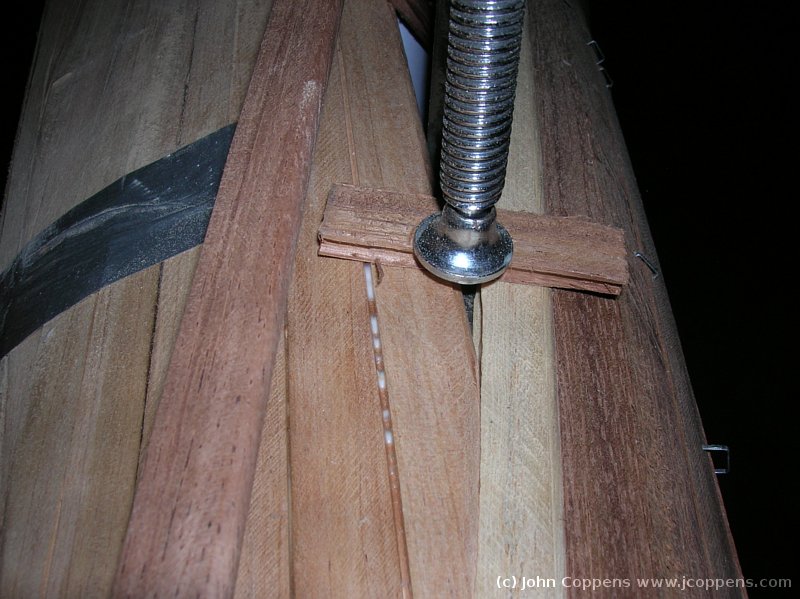
Detail of the strip endings. Tourniquette, external form, and a
clamp to assure the correct alignment.
|
||
|
|
|
|
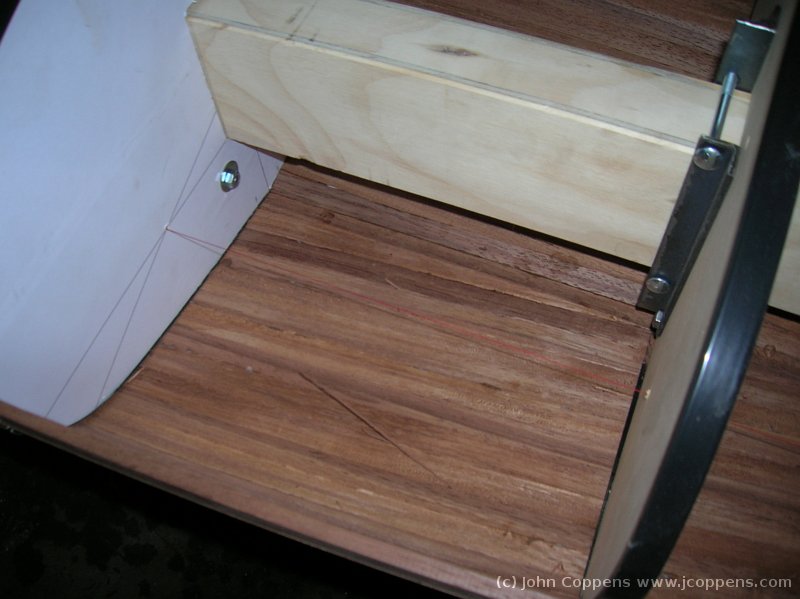
View of the bow, from the cockpit. At the starboard side, the central
panel is finished. The remaining space will be filled with another
color of timbo wood.
|
||
|
|
|
|
|
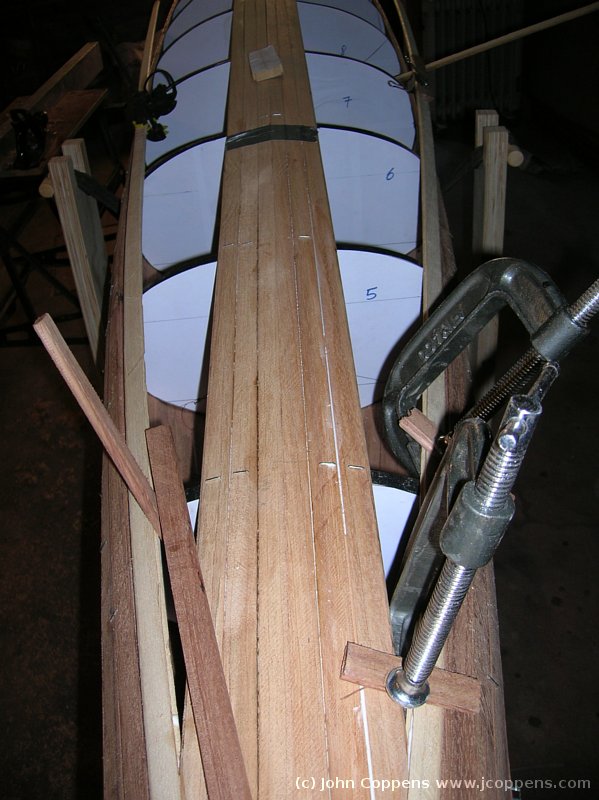
A little foresight frequently saves time. With a clamp, and pieces
of scrap wood to protect the work, I align the newly glued strips with
the old work.
|
||
|
|
|
|
The central part of the front deck is ready...
|
||
|
|
|
|
|
and a closeup of the bow. Rather nice, isn't it?
|
||
|
|
|
|
A planning error: in one of my classical moments of hurry, I glued
two strips to the left of the white separator, making it quite difficult
to install strips to the right.
|
||
|
|
|
|
|
So, the only way out was to glue in a couple of strips above and
below, and then make a 'key' strips that fits exactly in between.
Try to avoid this unnecessary precision work!
|
||
|
|
|
|
Now with that last key strip installed.
|
||
|
|
|
|
|
The last strip still needs to be trimmed at the other end. And then
I have to repeat the entire process on the port side, as I made the
same mistake there...
|
||
|
|
|
|
The fore deck almost ready! (only a few short strips left to install
near the cockpit, but I want to leave those for later) Note that
precious few strip remain on the shelves!
|
||
Continues with the aft deck.
| (c) John Coppens ON6JC/LW3HAZ |