

Language:
Español
Index
Forms
Strongback
Stripping
Epoxy
Coaming
Hatches
Closing
Related info
Questions
Bibliography
Peperina team
Other kayakers
Link page
|
With masking tape, I marked the height of the coaming (about 19 mm)
and after a first session with the sander, this is how it looks.
|
|
|
|

|
|
|
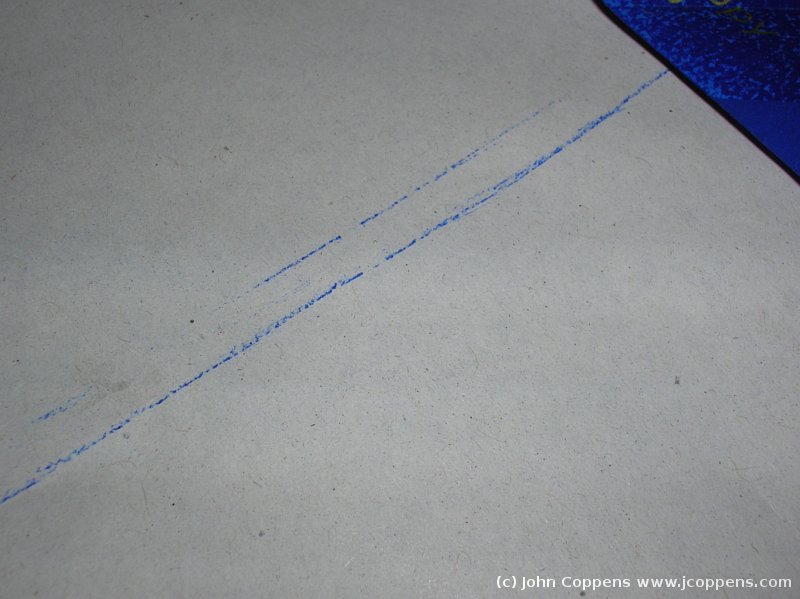
To construct the horizontal border, and be sure that the measures are
correct, I used again the carbon paper trick.
|
||
|
|
|
|
With a bit of care, it's possible to mark both the inside and outside
borders.
|
||
|
|
|
|
|
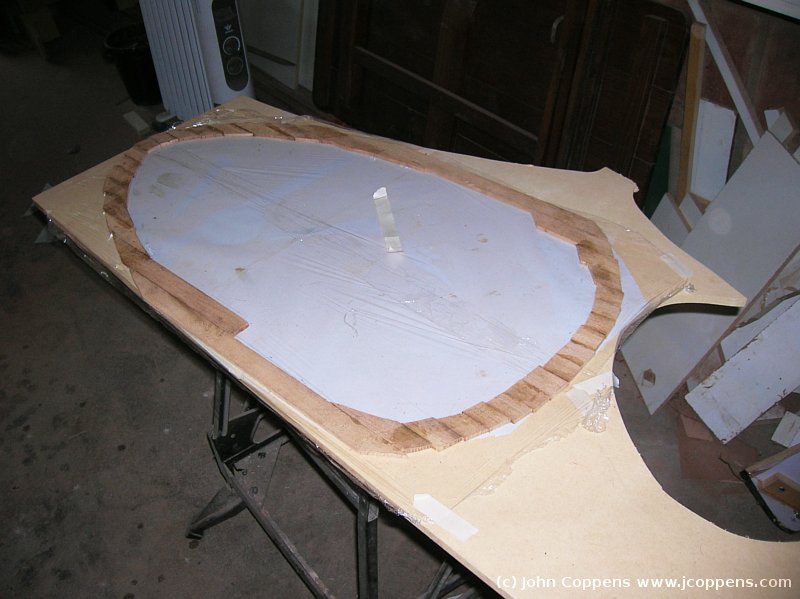
On an improvised table, with the drawing protected with kitchen wrap,
I glued the pieces of wood... I hope these hold!
|
||
|
|
|
|
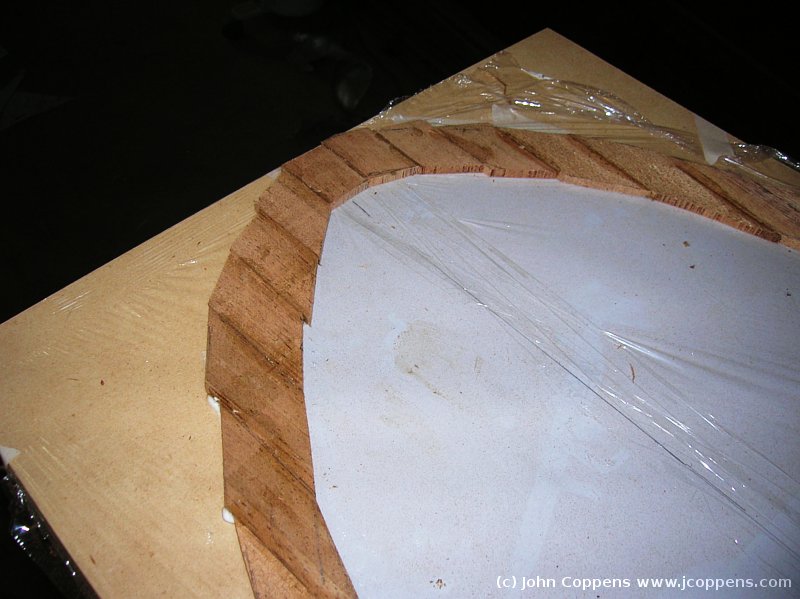
I'll sand it down to the exact form once glued.
|
||
|
|
|
|
|
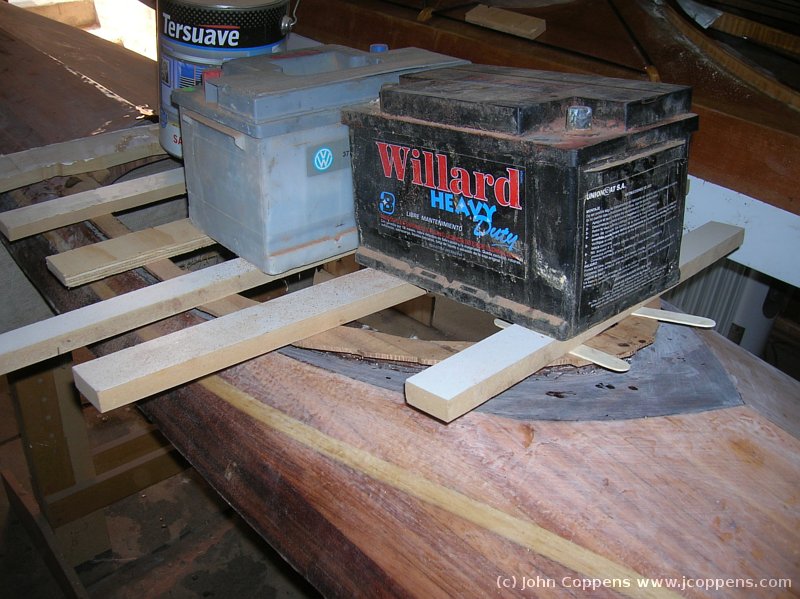
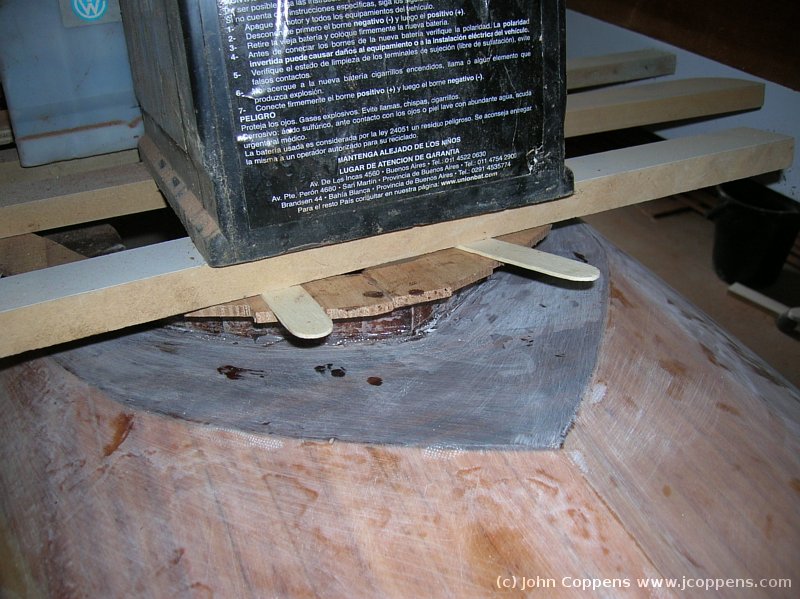
After applying some epoxy with talcum filler, I installed the top
ring very carefully, and applied 'misc weights' to make the border
follow the form.
|
||
|
|
|
|
Near the front, it was difficult to apply the correct pressure just
left and right of the point, so I had to 'supplement' it.
|
||
|
|
|
|
|
It worked! Only in one spot, for a couple of centimeters, did the
glue not take. This was solved with quick setting epoxy. My 'old'
S&G is alongside, for minor repairs, also to the coaming.
|
||
|
|
|
|
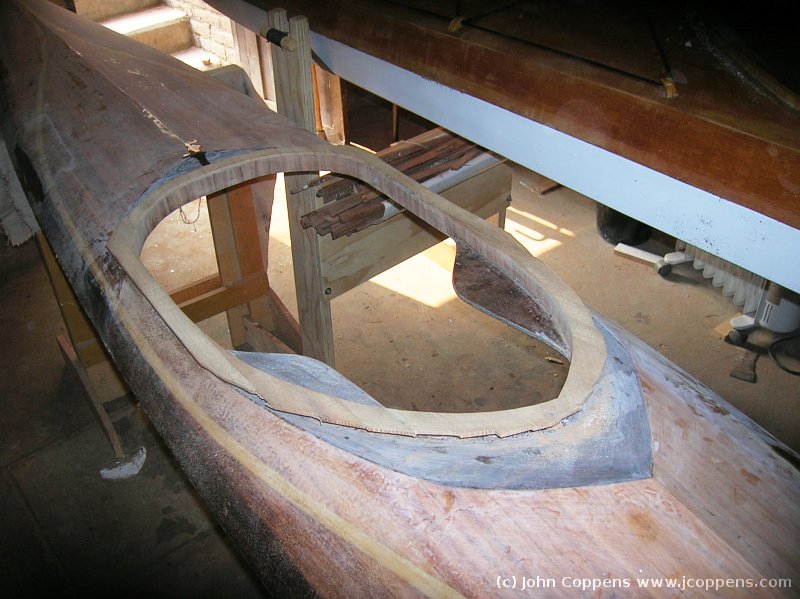
With file and sandpaper, I adjusted the inner border to the vertical
walls of the coaming. Then I measured, from the inside, 23 mm all
around to mark the desired width.
|
||
|
|
|
|
|
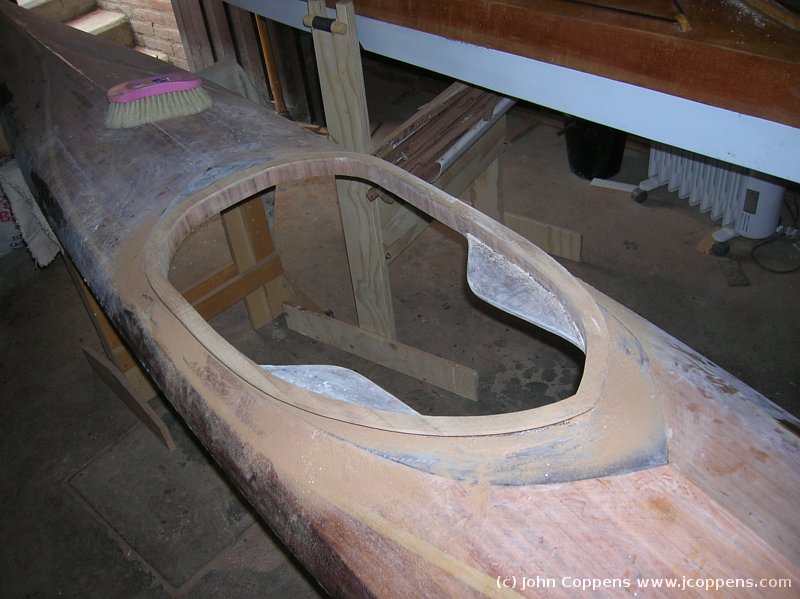
Yet another session with the sander, and the result: more dust and
a coaming ready for epoxy, looking quite nice.
|
||
|
|
|
|
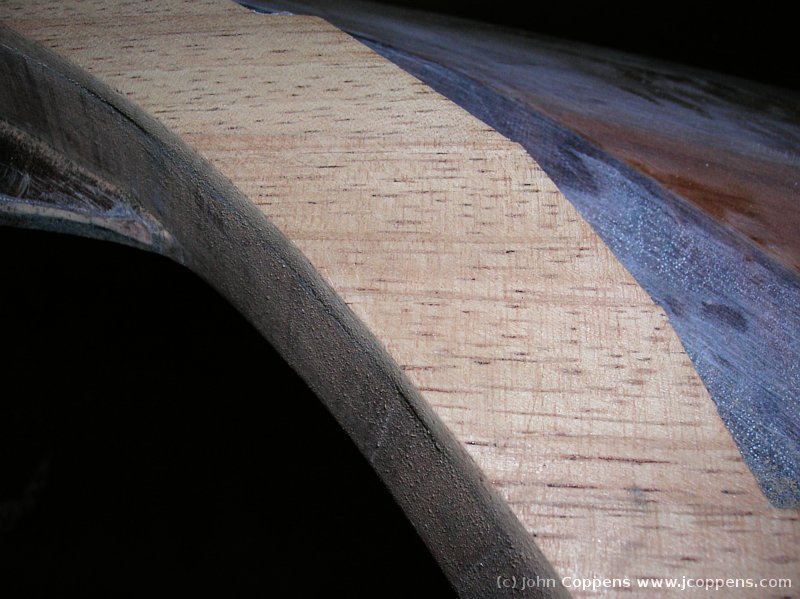
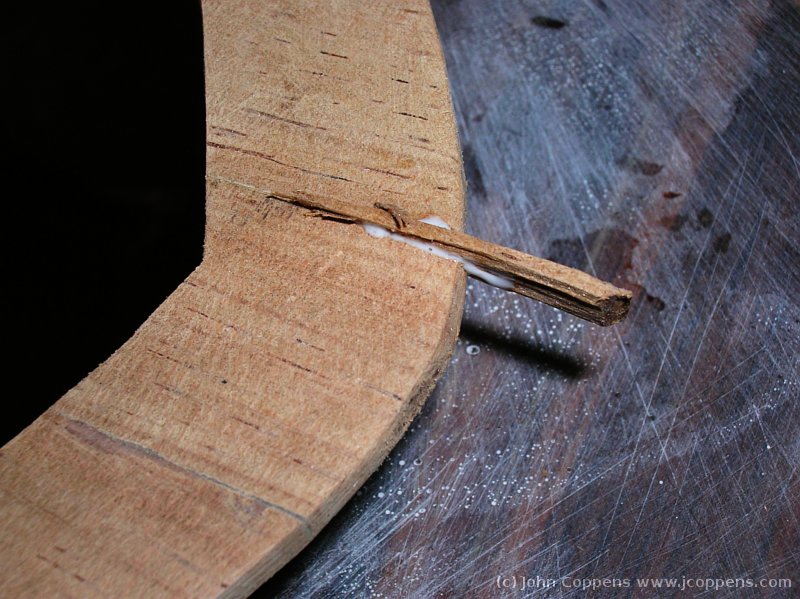
Cleaning the upper surface, I noted that at one spot, the ring had
split (less than 1/2 mm). Easily solved: a splinter of the same
wood glued in between.
|
||
|
|
|
|
|
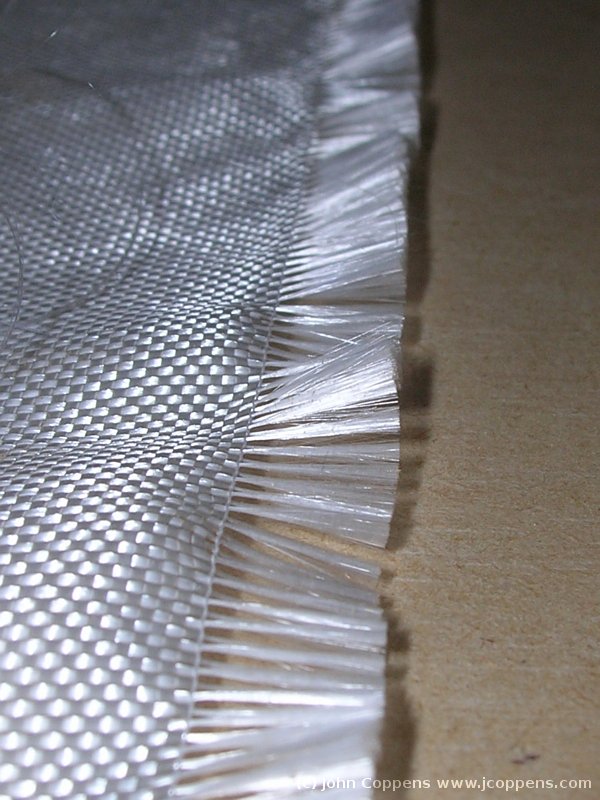
Now's the time to glue the tape in between the deck and the top
ring. No ready-made tape available here. From scrap fibre cloth,
I cut my own tape. It's important to remove the two synthetic
threads near the border, as they tend to distort the cloth.
|
||
|
|
|
|
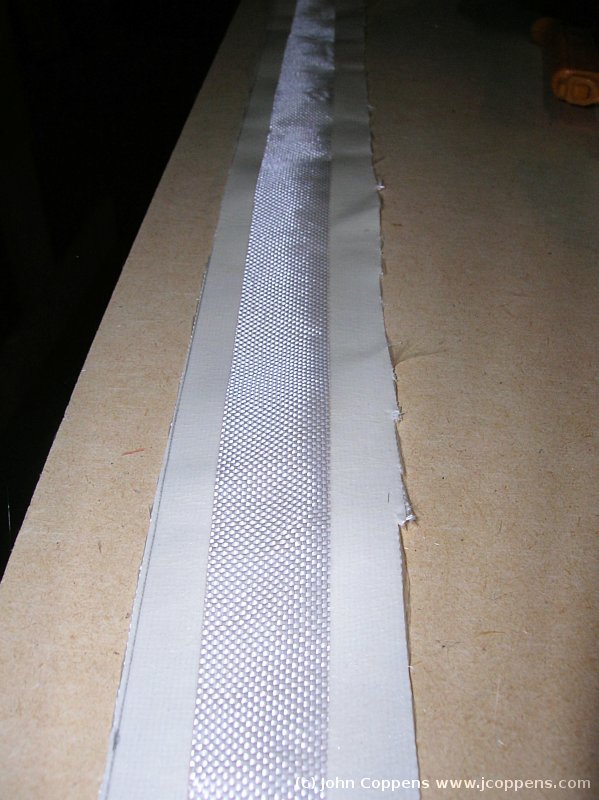
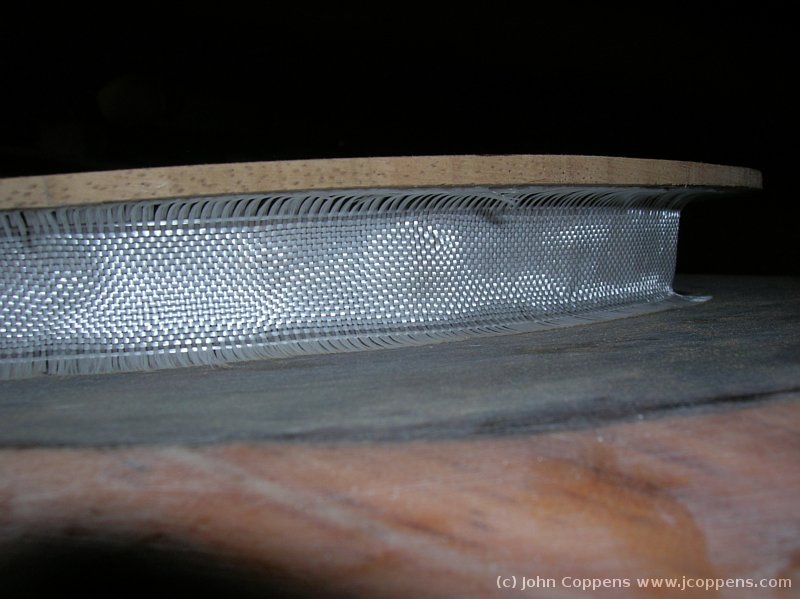
To ease the cutting of the narrow tape, I put masking tape at the
desired width. Don't press the tape, or it will me difficult to
remove without damaging the cloth. I wanted 43 mm width: 18 mm for
the heigth, and 10 mm for the lower side (deck) and 15 mm for the
upper side.
|
||
|
|
|
|
|
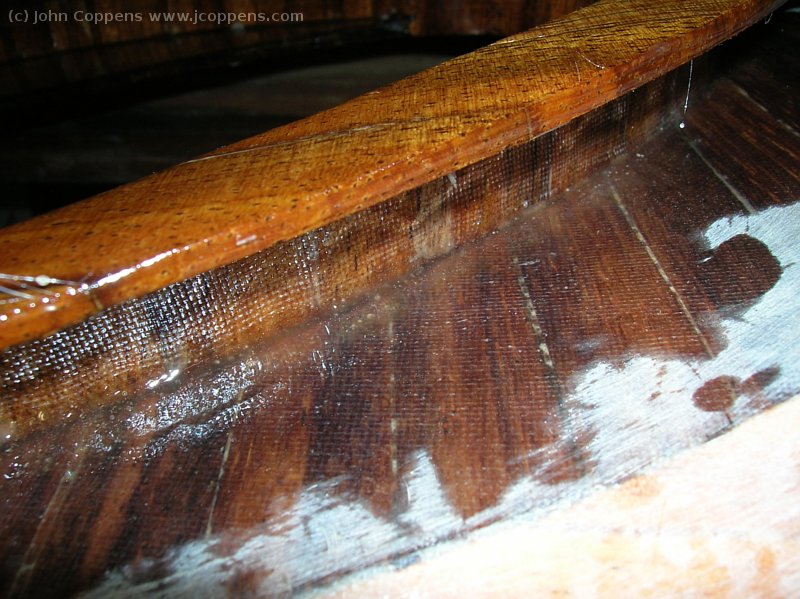
The tape in place. That part is easier than it seems... I've removed
the lengthwise threads for the horizontal parts,
|
||
|
|
|
|
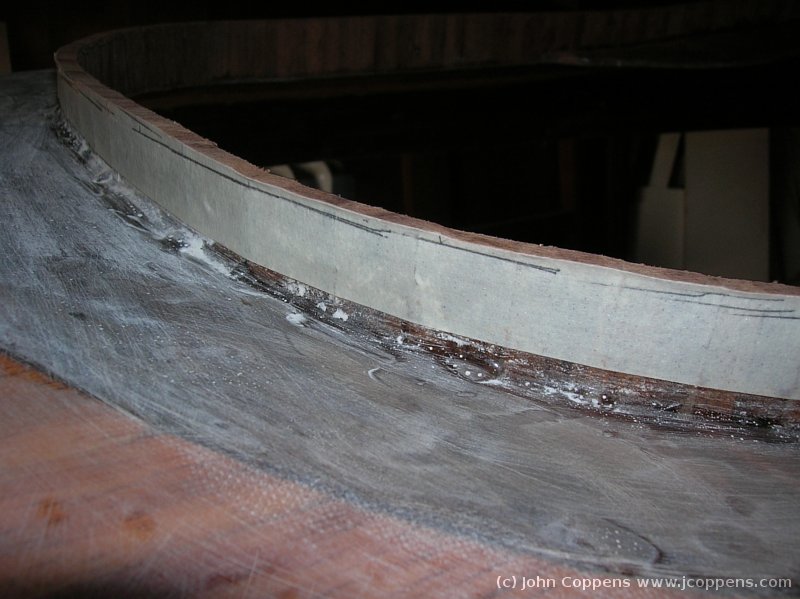
Impregnated in epoxy, the tape nearly disappears. Maybe I'll
apply more epoxy later, to hide the weave, though it's not really
necessary. The white spots in front are from the sanded deck, very exaggerated by the camera's flash.
|
||
Continues with internal parts.
| (c) John Coppens ON6JC/LW3HAZ |