|
This is not a complete tutorial, and knowledge on how GIMP and
POVray are used is assumed. Here are the steps I followed to create the
Christmas card I sent around. I don't claim this is the easiest
way to do it either!

|
|

|
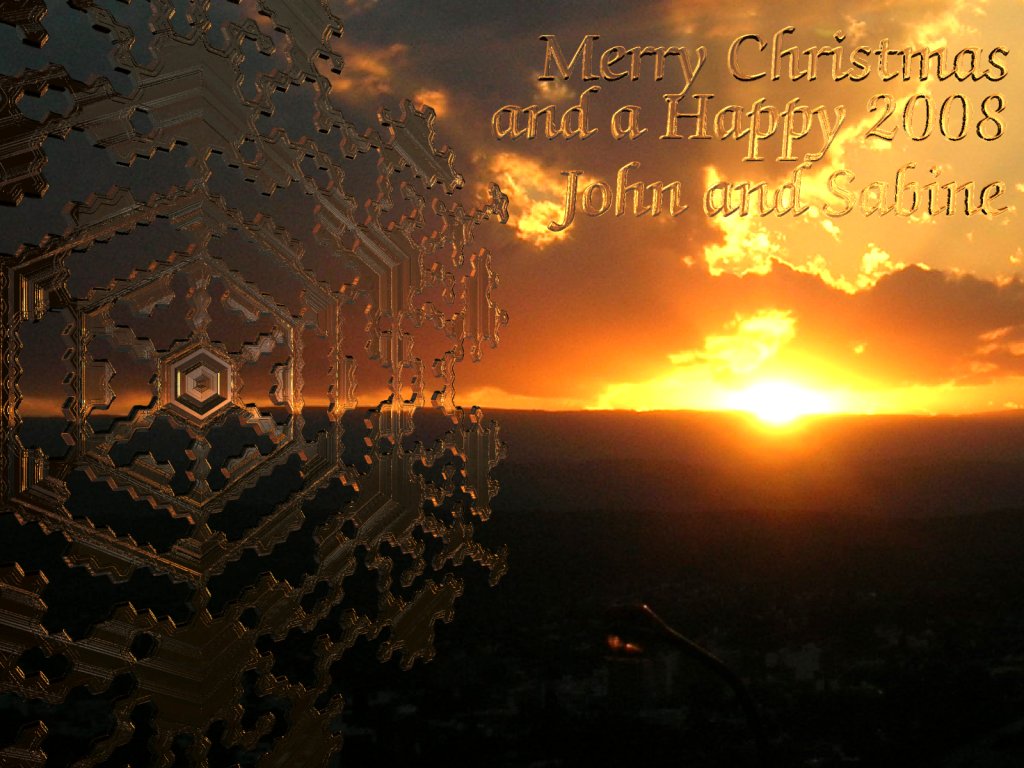
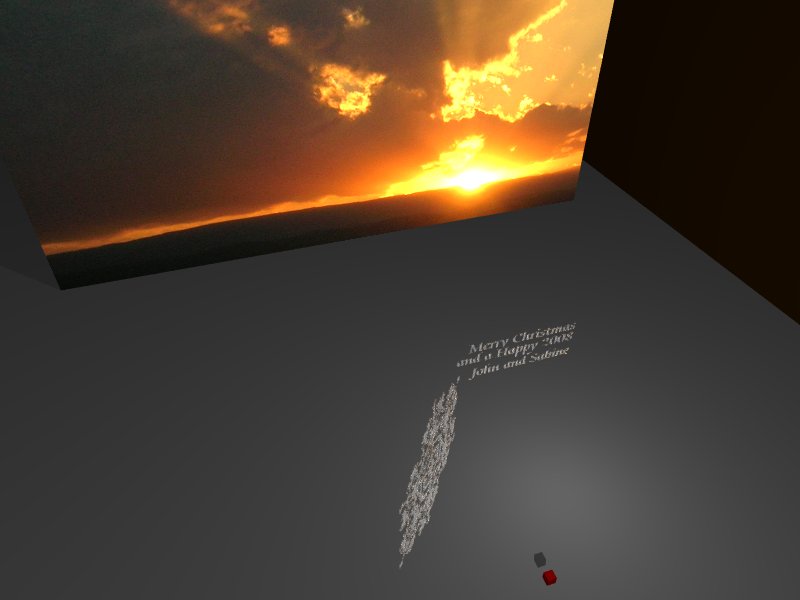
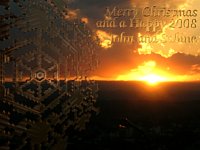
The image is a composition of three main elements, which were combined
by 'viewing' them im POVray: a background sunset image,
a snowflake, and the greetings. (to improve the visibility
of the elements, I added a gray 'floor') The camera position
is indicated by the small red box.
|

|
|
This is the background sunset. The original had the sun at the left,
so I mirrored the images usng the GIMP.
|
|

|
The snowflake wsa generated by an encryption algorithm.Below, you'll find a step by step
description of the details.
|

|
|
The greetings were added using a simple text generated with the GIMP,
with a few tricks, very similar to the snowflake generation.
|

|
The basic form of the flake wsa generated by a program (snowflake-0.01a), which is, in fact a cryptography program
generting a different (and unique) snowflake for each different
keyword entered.
|
|

|
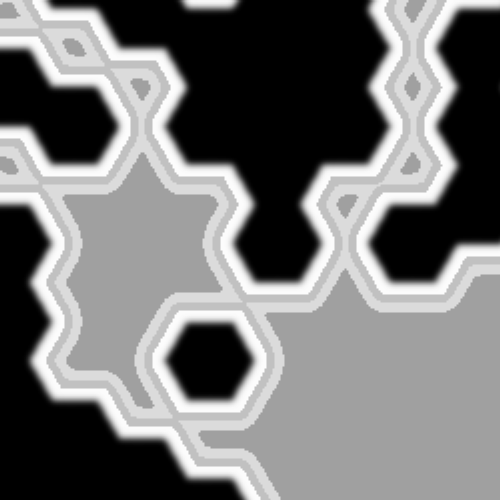
The image will be used in POVray as a height-map, where each gray
tone indicates a different height (white being highest). To obtain
bevelled borders (instead of steep cliffs), I reduced the contrast
by blurring the image in GIMP.
|

|
|
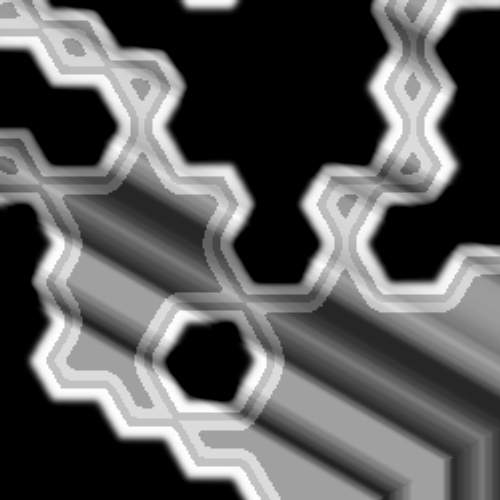
Just simple bevelling made the image somewhat boring. To add more
interesting details, I made a skimmed version of the flake. To
obtain the skimmed version, I first made another copy of the flake,
blurred even more.
|
|
|
Then, using 'Layer' | 'Colors' | 'Threshold', I selected only the
upper range. Voila: a skimmed version of the original.
|

|
|
Again, made another, even more skimmed version, using the same
steps.
|
|
|
This is the second, skinnier, version.
|

|
|
... and another one! Now, copying all these skinny versions into
layers of the original, I can generated a flake with different levels.
|
|

|
Here I added the three skimmed versions to the original. This image
is obtained if you mark the new layers to be added as 'Addition' and
'Subtraction' instead of 'Normal'. It's also necessary to reduce the
contrast of each new layer to reduce the 'height effect' it has.
|
|
|
Still somewhat 'flat' in some places, so I decided to add some
more or less random relief. Imperfect things are more acceptable
to the eye! How to obtain the relief, is described below.
|

|
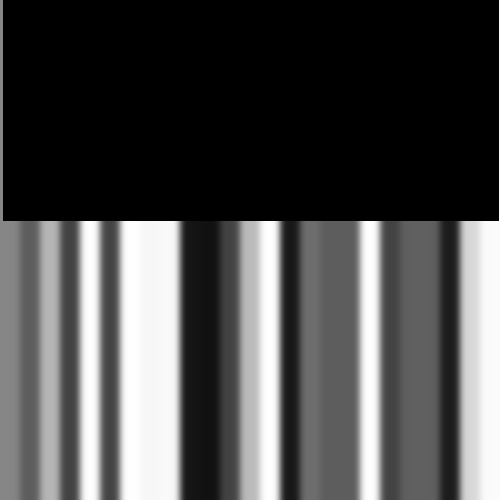
The following images are scaled to show off the effect of each
step. First, I generated a (very small) image, of just 1 by 25 pixels.
I filled the image with random noise.
|
|

|
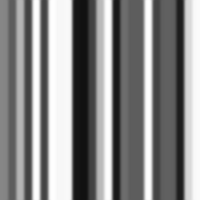
Then, I scaled the image to the necessary size to be combined with
the snowflake. Note: Set the Interpolation option to 'None' while
scaling, else the borders will be too blurry.
|
|
|
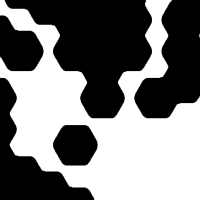
Next step: bevelling the sharp borders between the blocks. Linear
interpolation in the previous step would have blurred them too much
(for my taste).
|
|

|
Added new layere, filled with black. Here, I already shifted it up
a little to show the background.
|

|
|
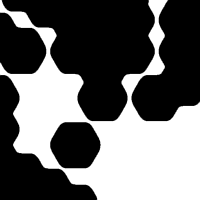
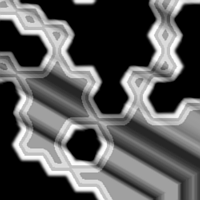
Using the rotation tool, the layer can be rotated exactly 30 degrees.
Then duplicating and mirroring the new copy, produces a seconds form
for masking. The resulting pie slice can be repeated 6 times.
|
|

|
Ready! This new image can now be combined with the last layer of
the snowflake composite, again using 'Addition' or 'Subtraction',
or even 'Multiplication', to obtain the modulation of the surface.
|
|
|
|
The finished snowflake, ready to be used...
|